
Today, I’m breaking down step-by-step our fireplace makeover on a budget. This project was extra special to me because it is my first fireplace!
My First Fireplace…
FACT – I’ve never had a fireplace, until recently! The home I grew up in as a child did not have one, which sparked a lot of questions for my parents when I was younger about how in the world Santa Claus would get into our house on Christmas!! Answer: Santa had a key and the code to the alarm.
As I grew older, I dreamed of having my own fireplace that I could cozy up to someday. The second home I would live in, the one we bought as an engaged couple and brought our babies home to, did not have a fireplace either. Around the holidays we had to get creative once again and hung our stockings from the staircase banister up on the second floor. Not ideal.
My dreams came true this past fall when we bought our new home. It is equipped with a dual woodburning and gas fireplace! The only problem was the finishings were not to my taste. My style is minimalistic, light and airy, and this fireplace was ornate and dark! Swipe to see before picture from house listing!
How to Makeover a Fireplace on a Budget:
We did not want to spend a lot money updating the fireplace after the expenses that came with purchasing a new home, so we decided to do some simple improvements that would make a serious impact.
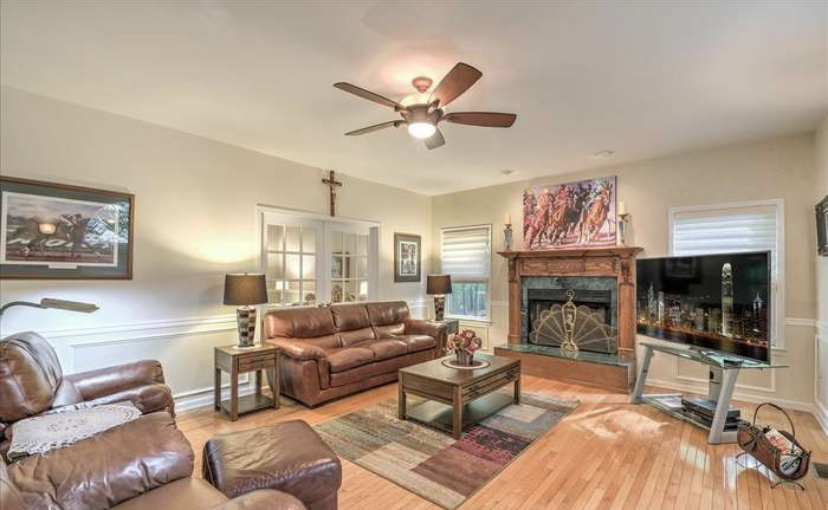
Before picture from house listing. 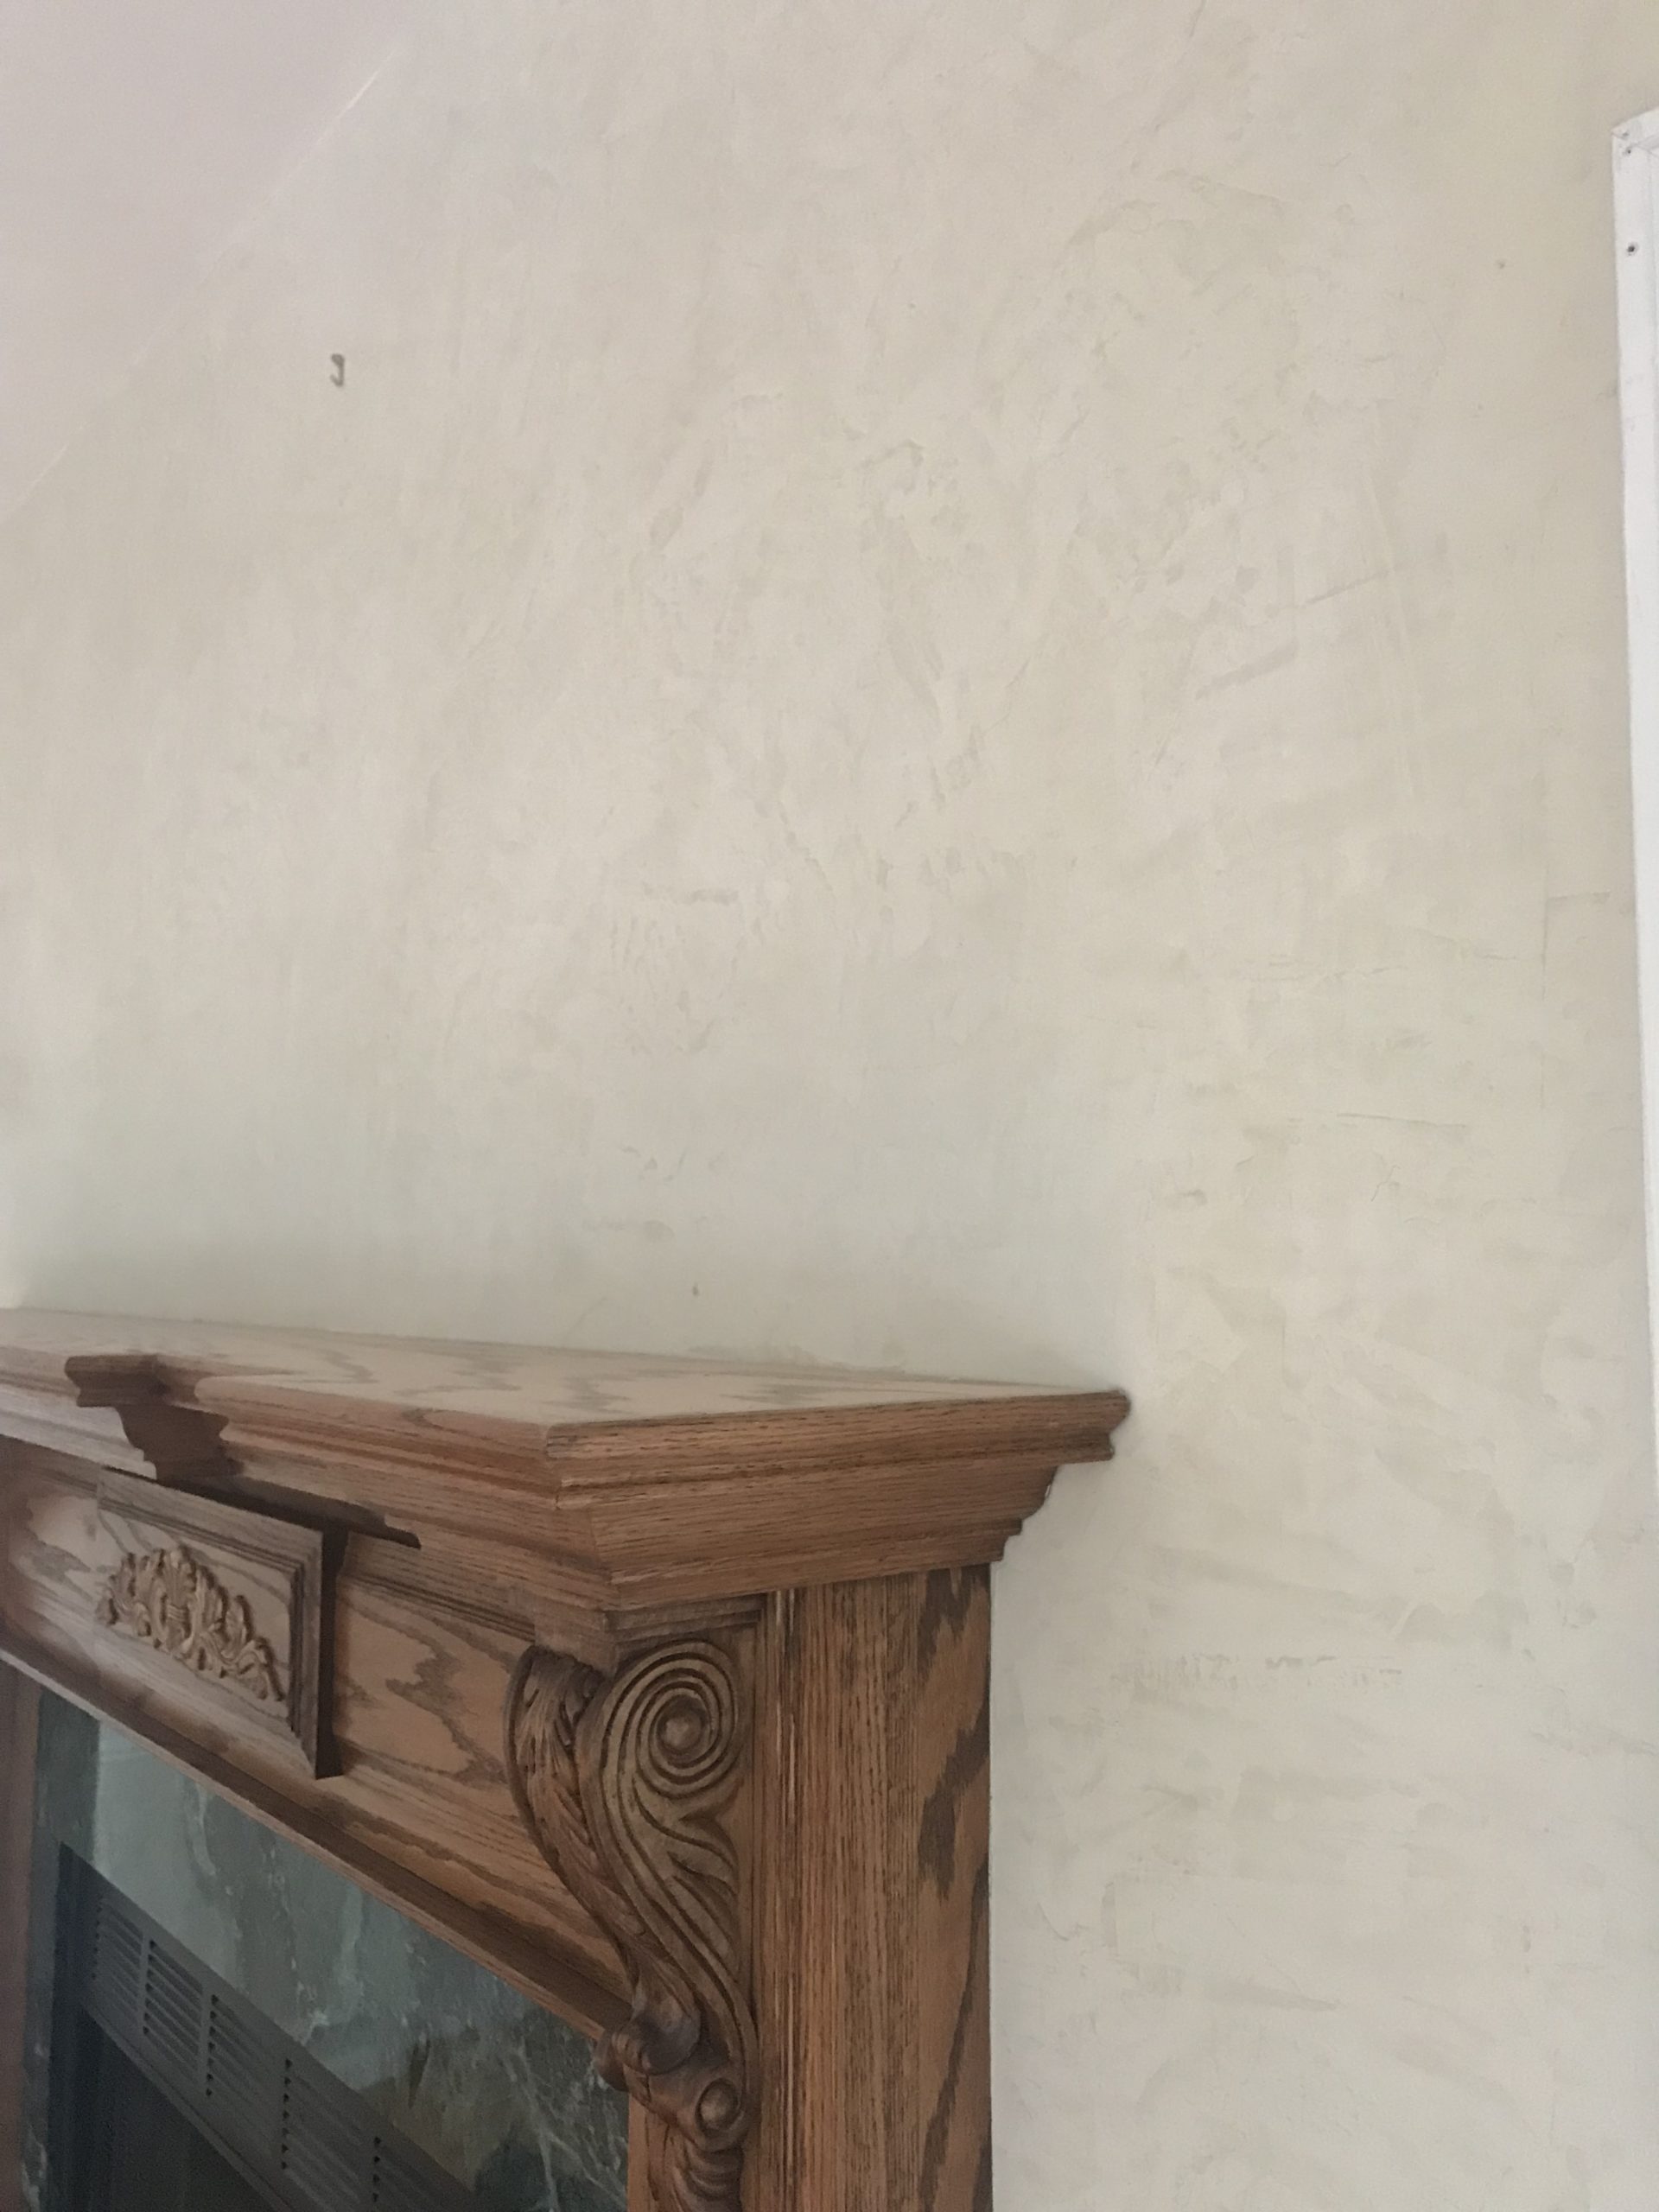
Before – Close up of ornate details. 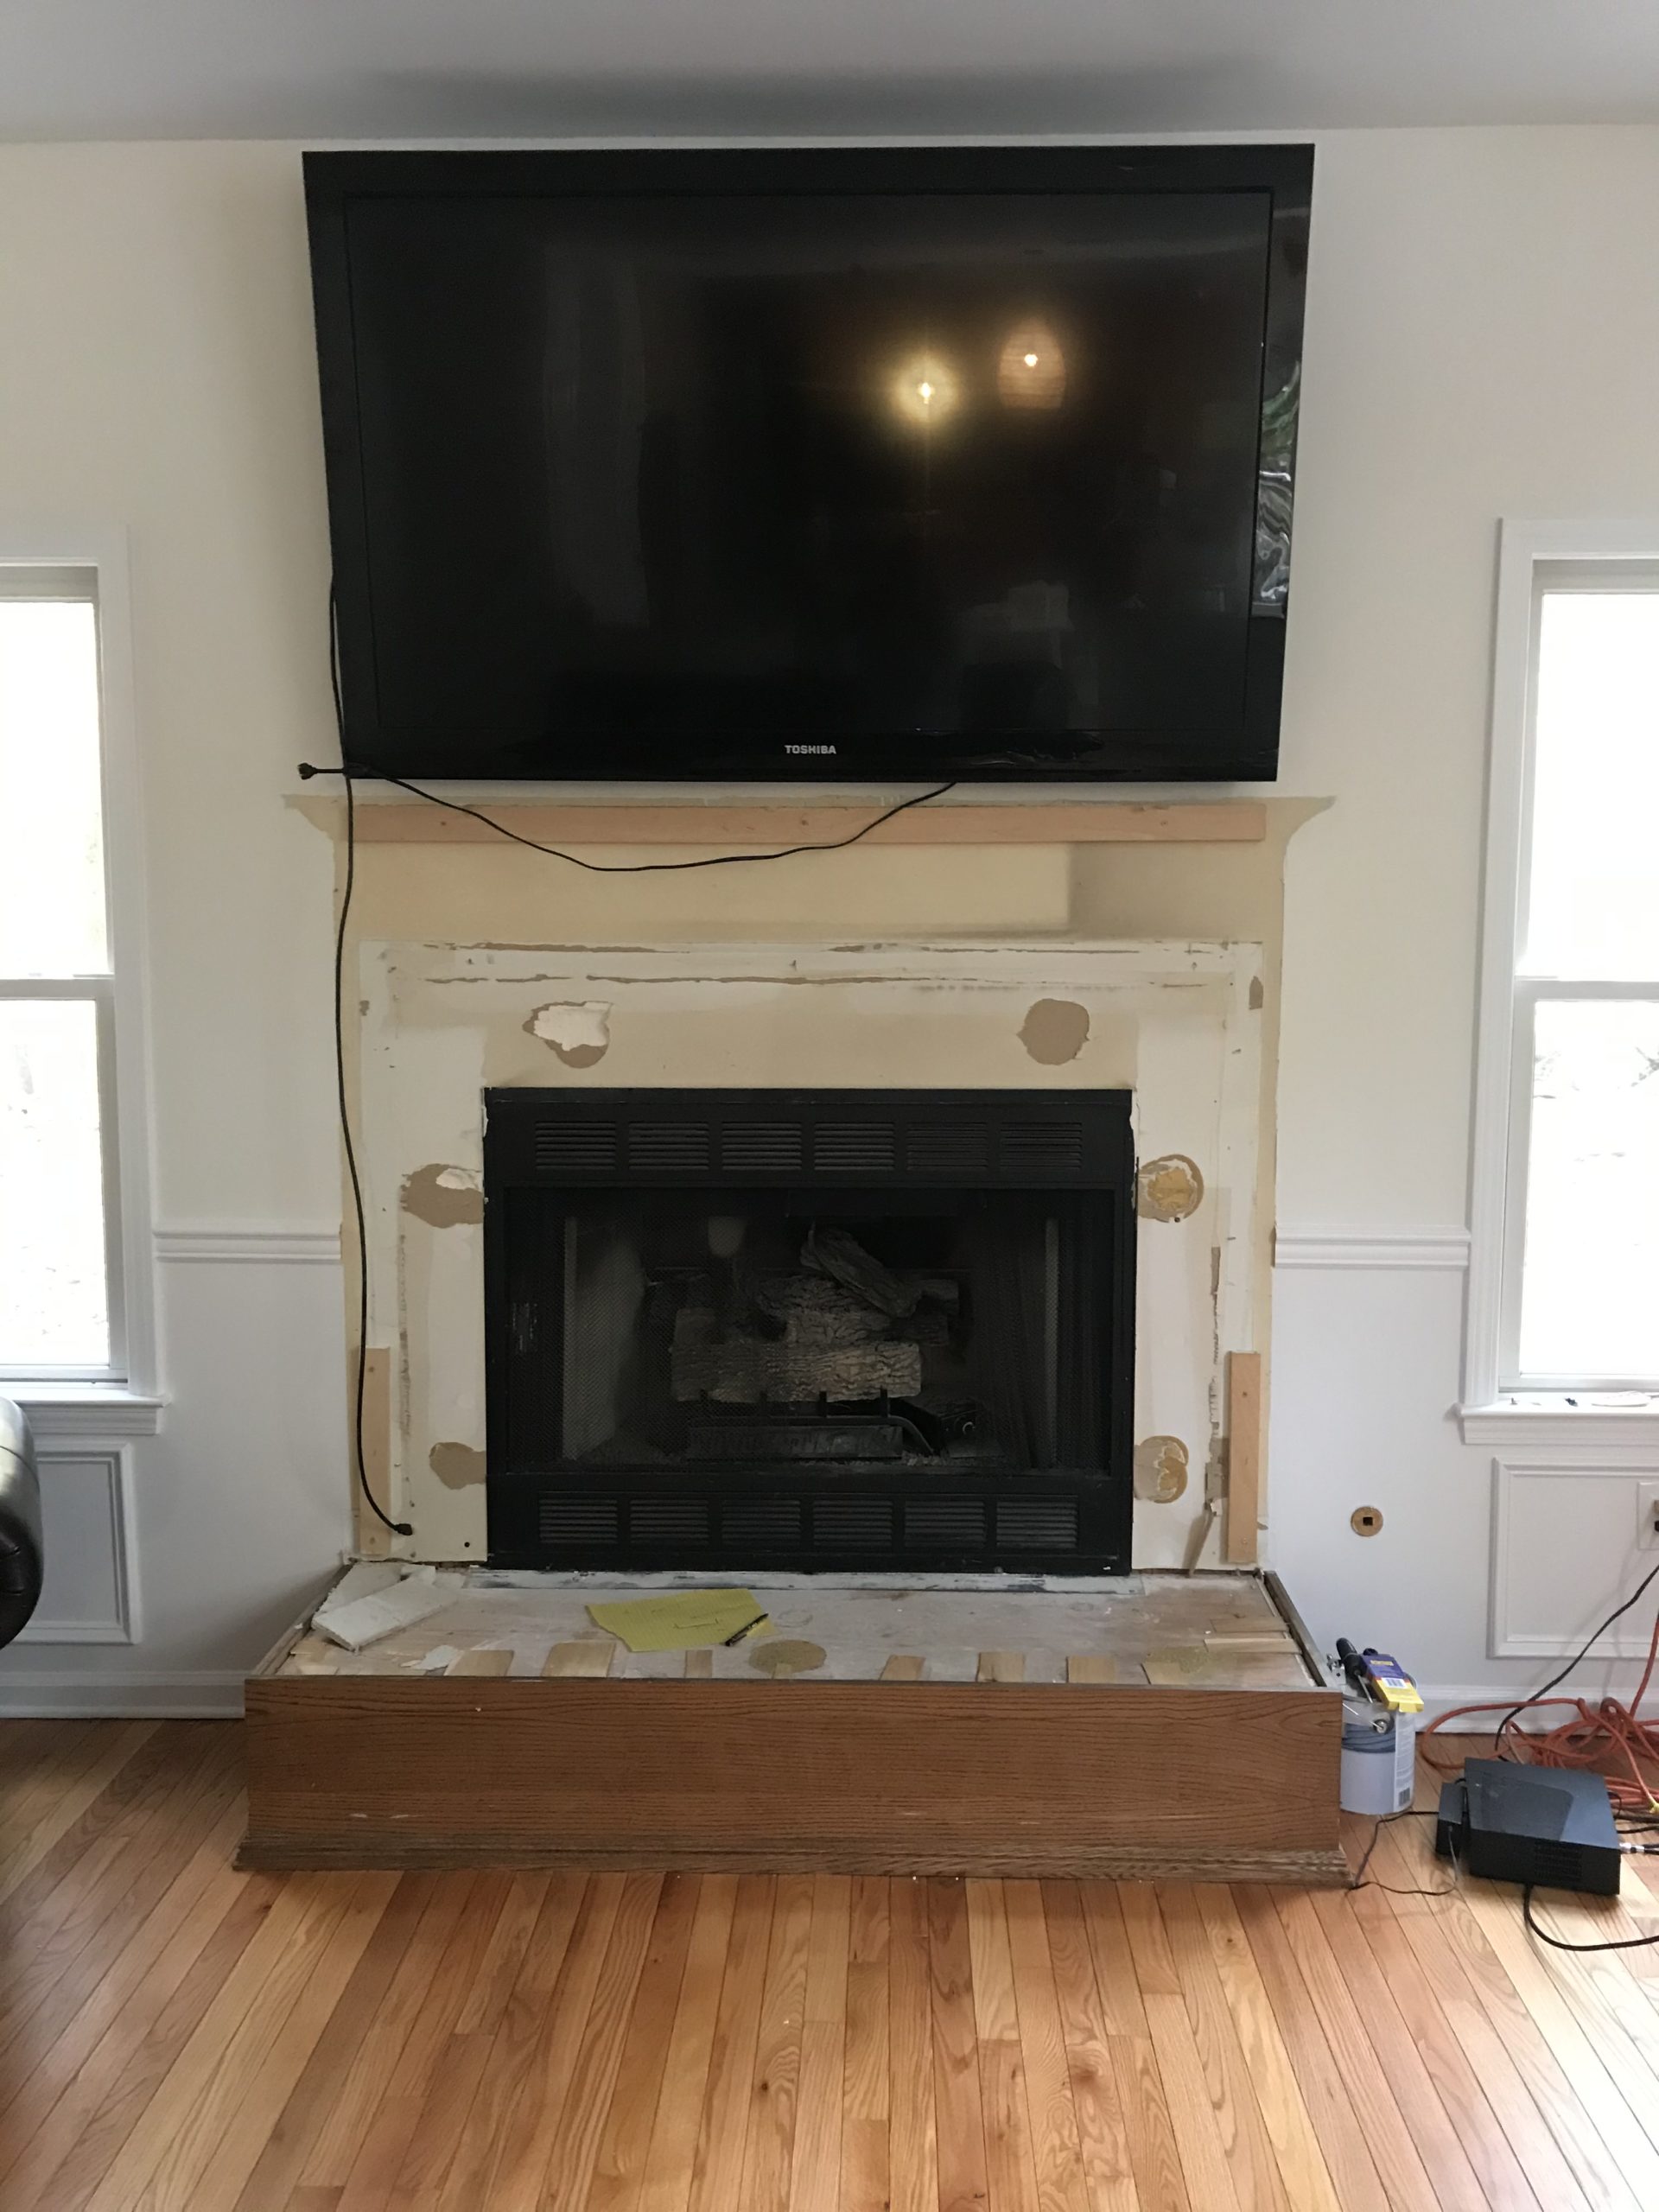
Steps 1 + 4 – Carefully removed mantel and tiles from wall. 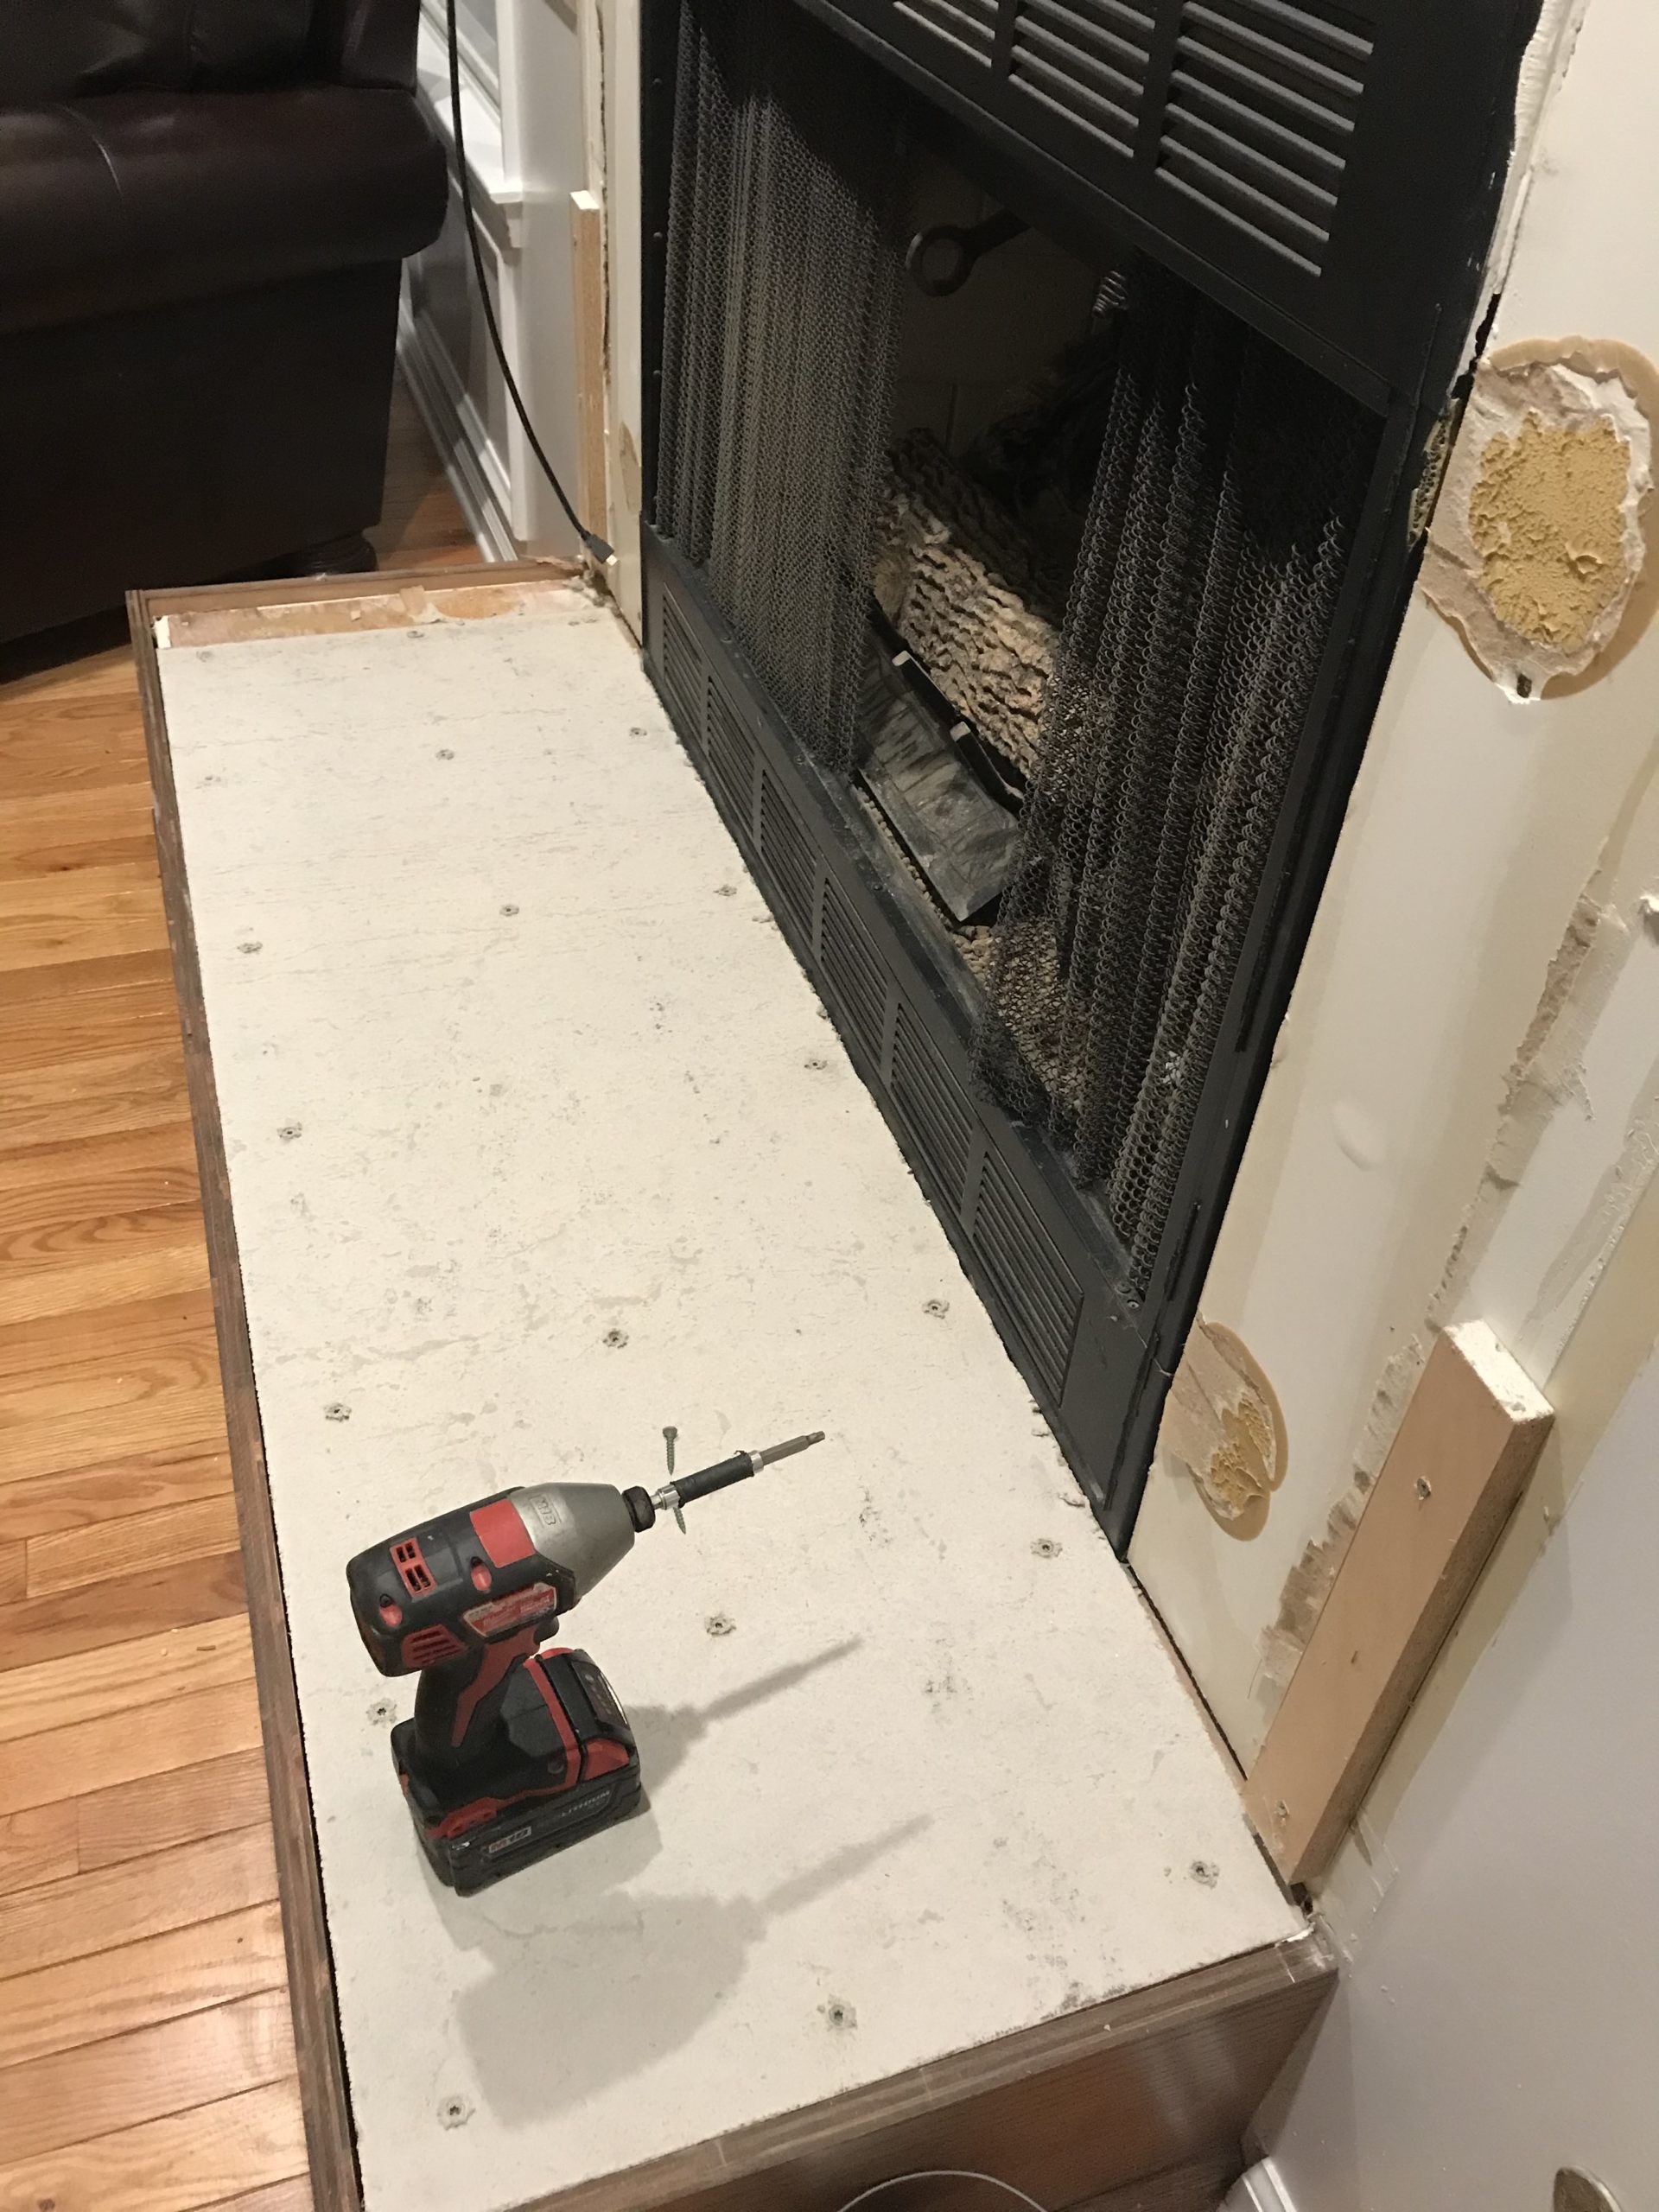
Step 5 – Cut and screwed down cement board where new tile would be laid. 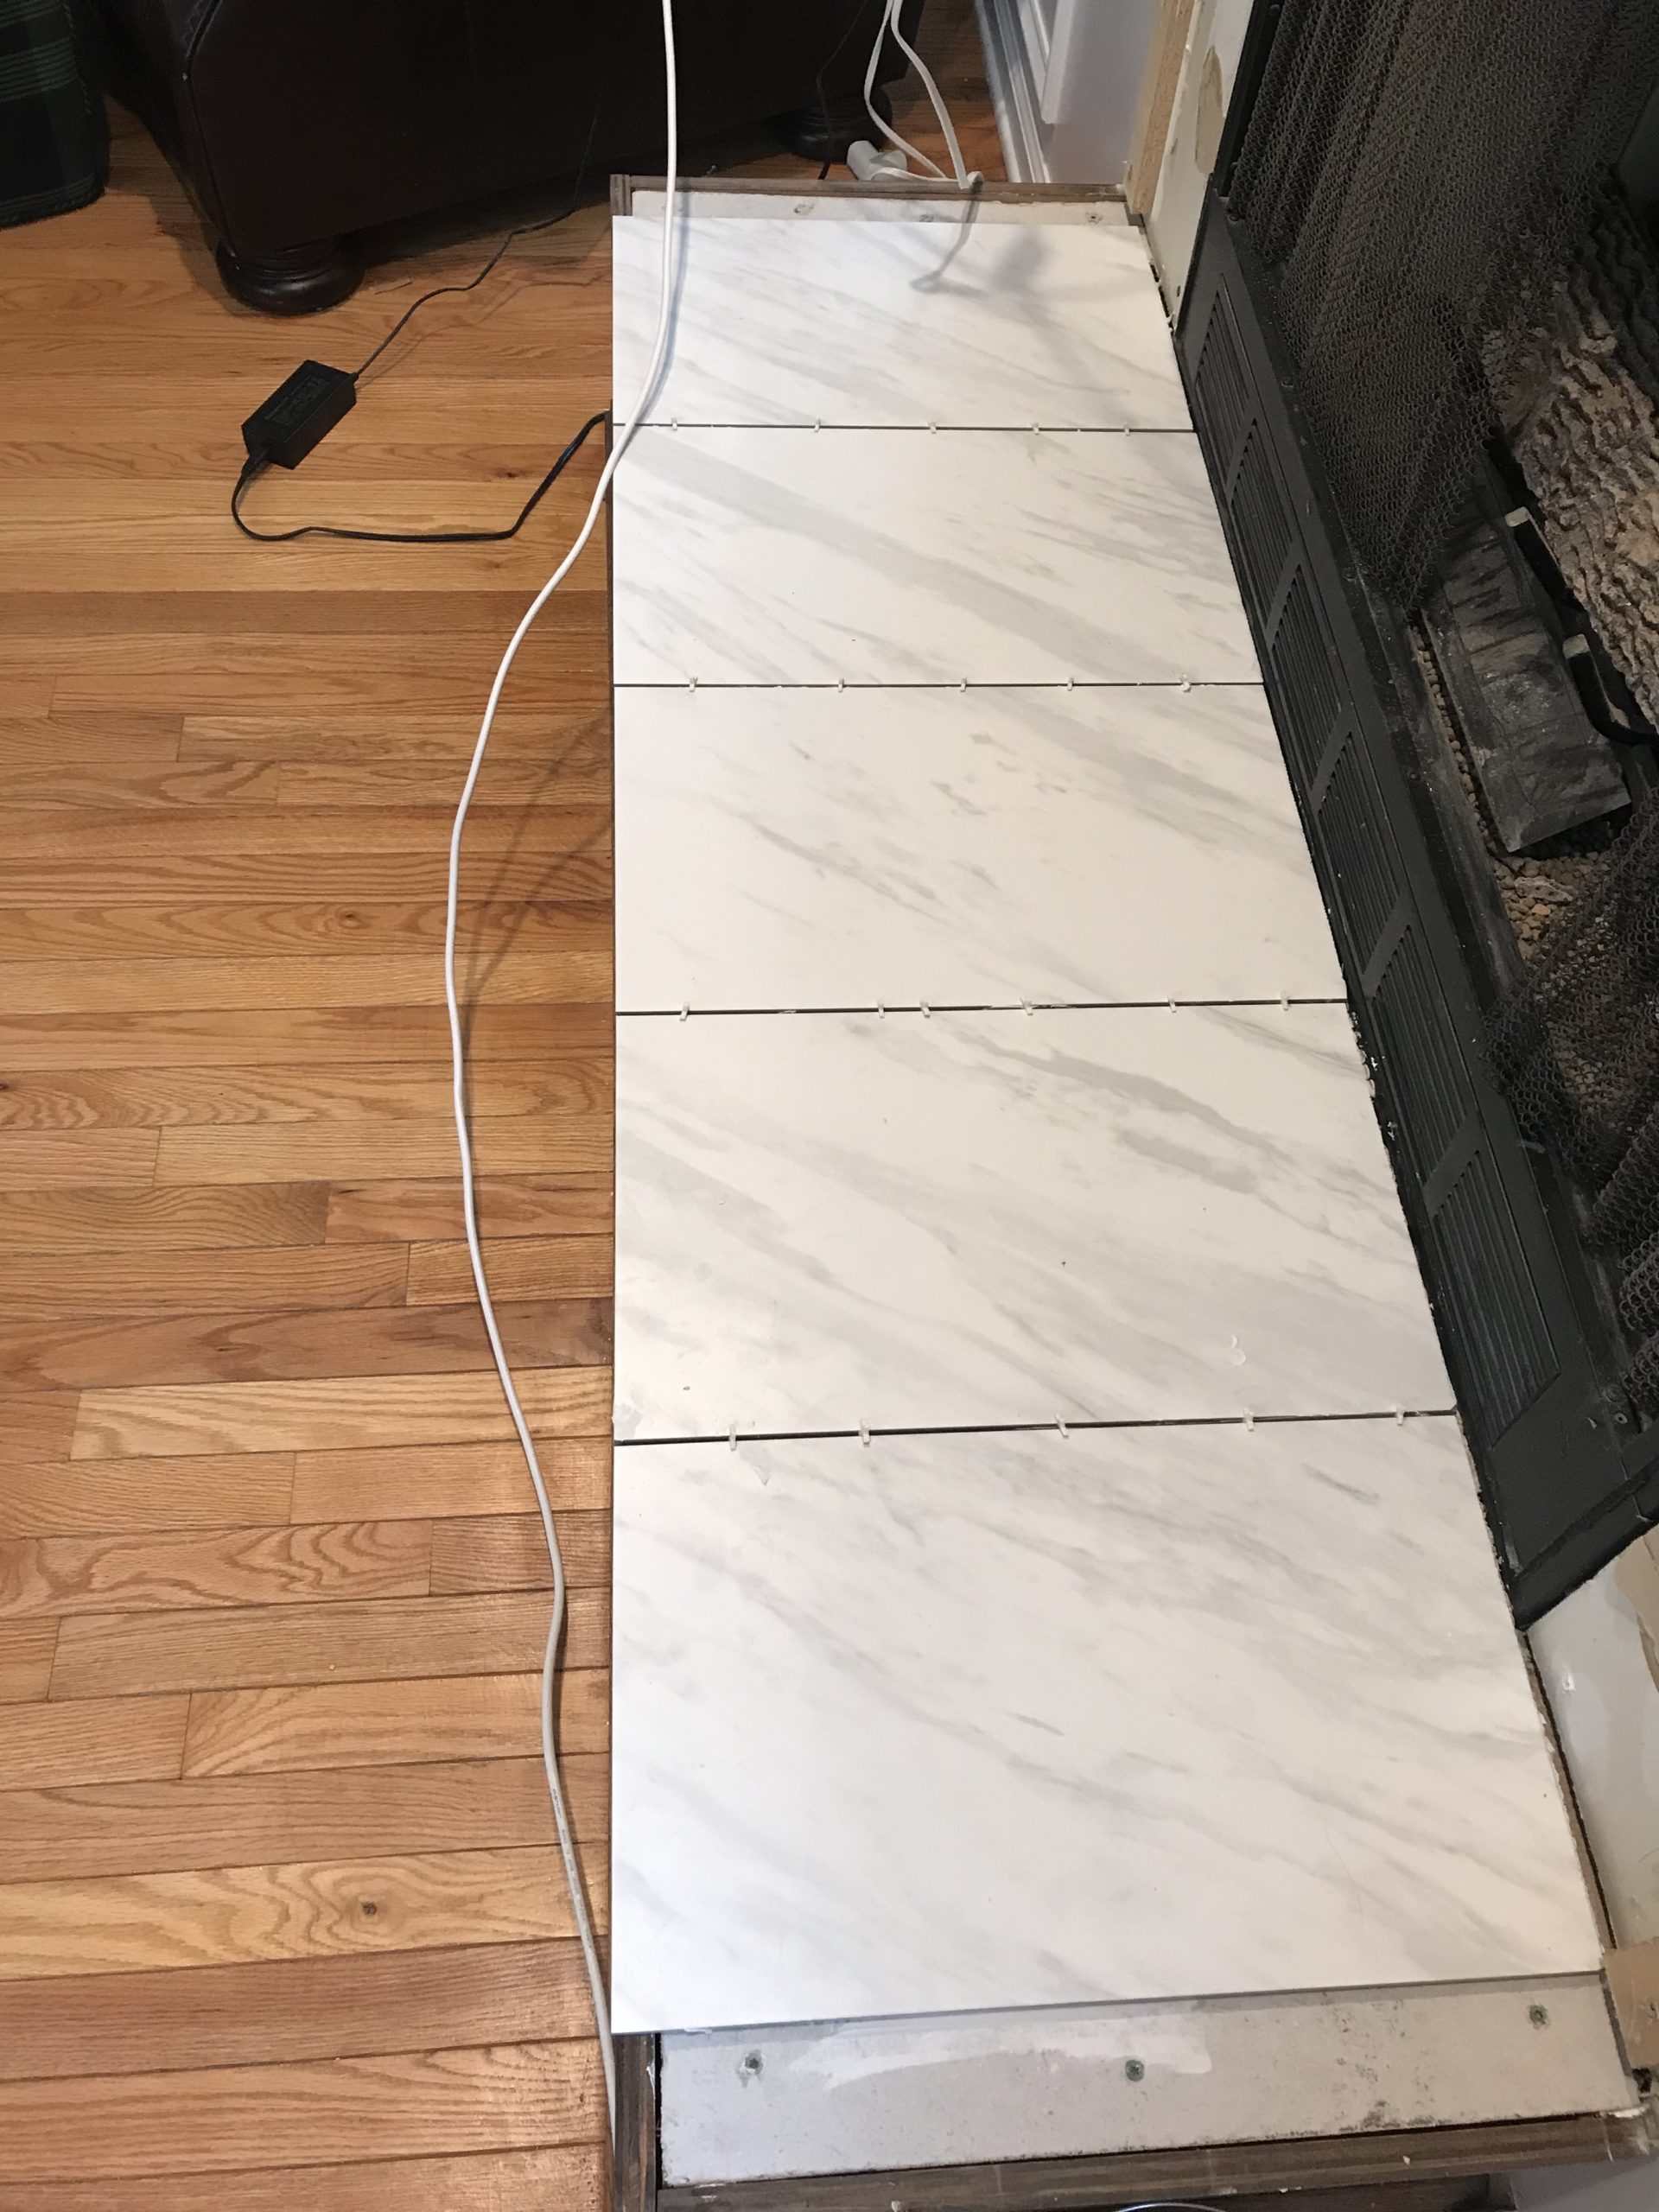
Step 6 – Cut and laid new tile (over cement) with spacers for grout. 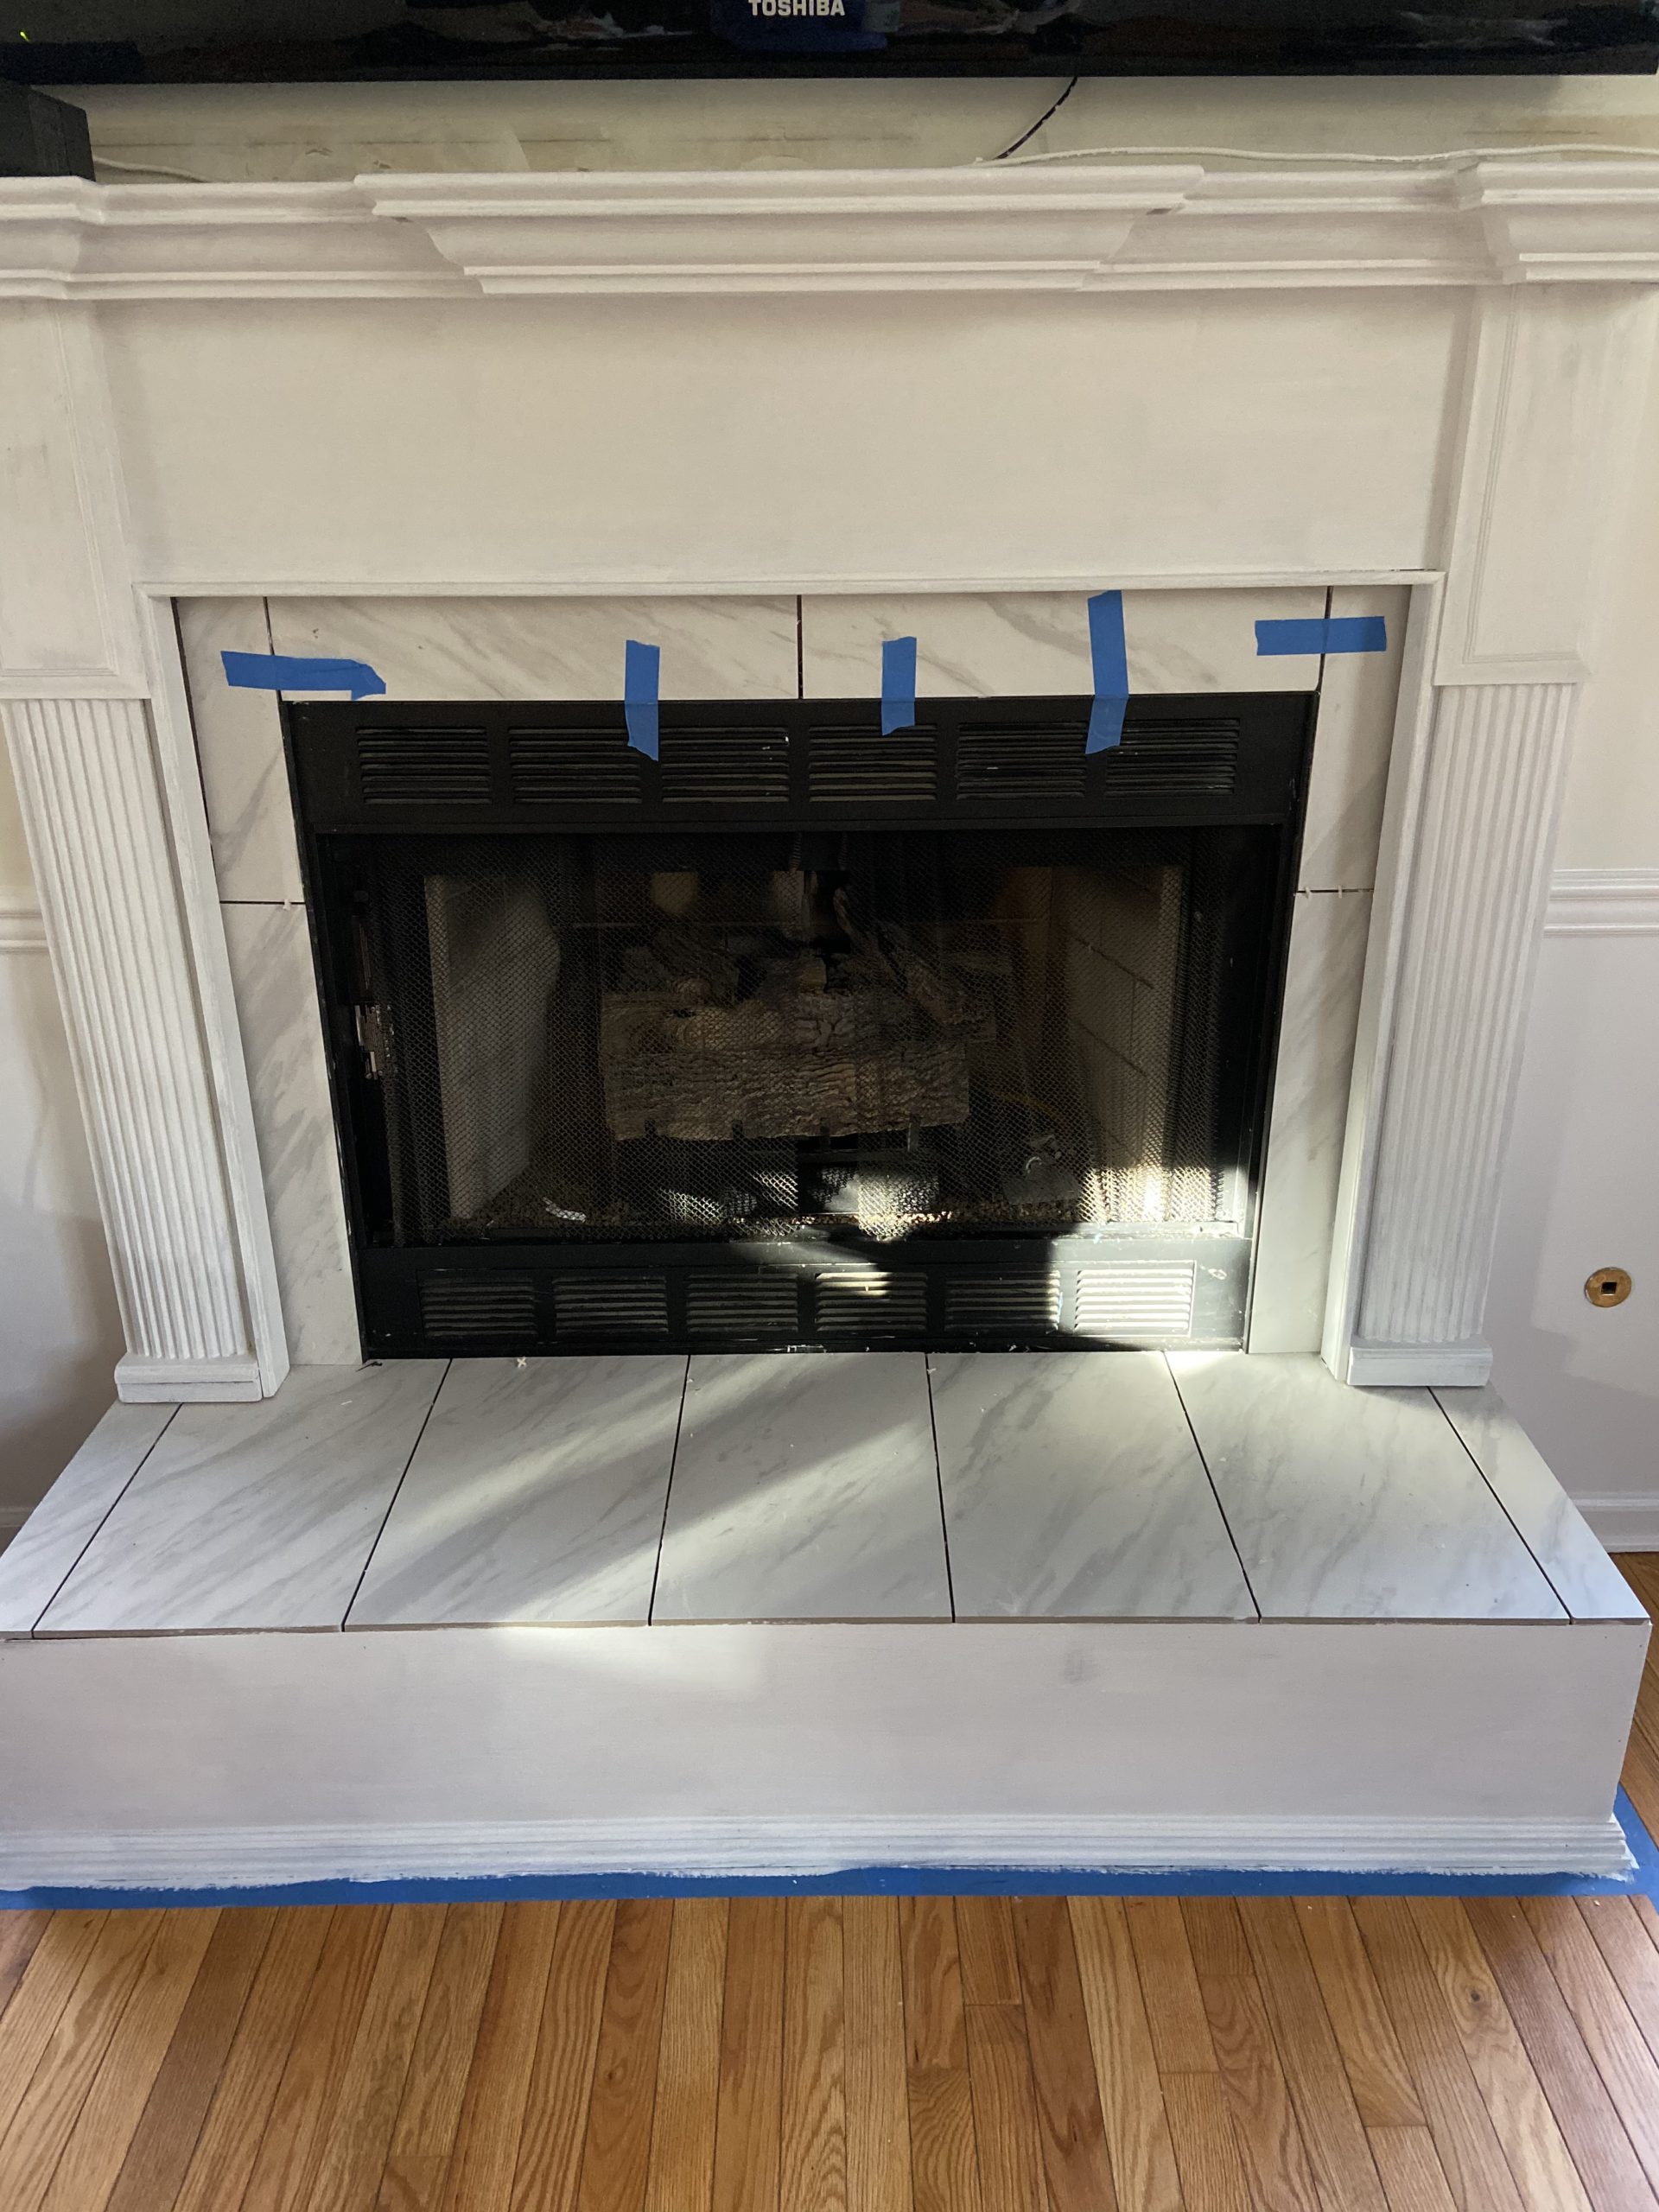
We used blue painters tape to keep the upper tiles in place while the cement dried. 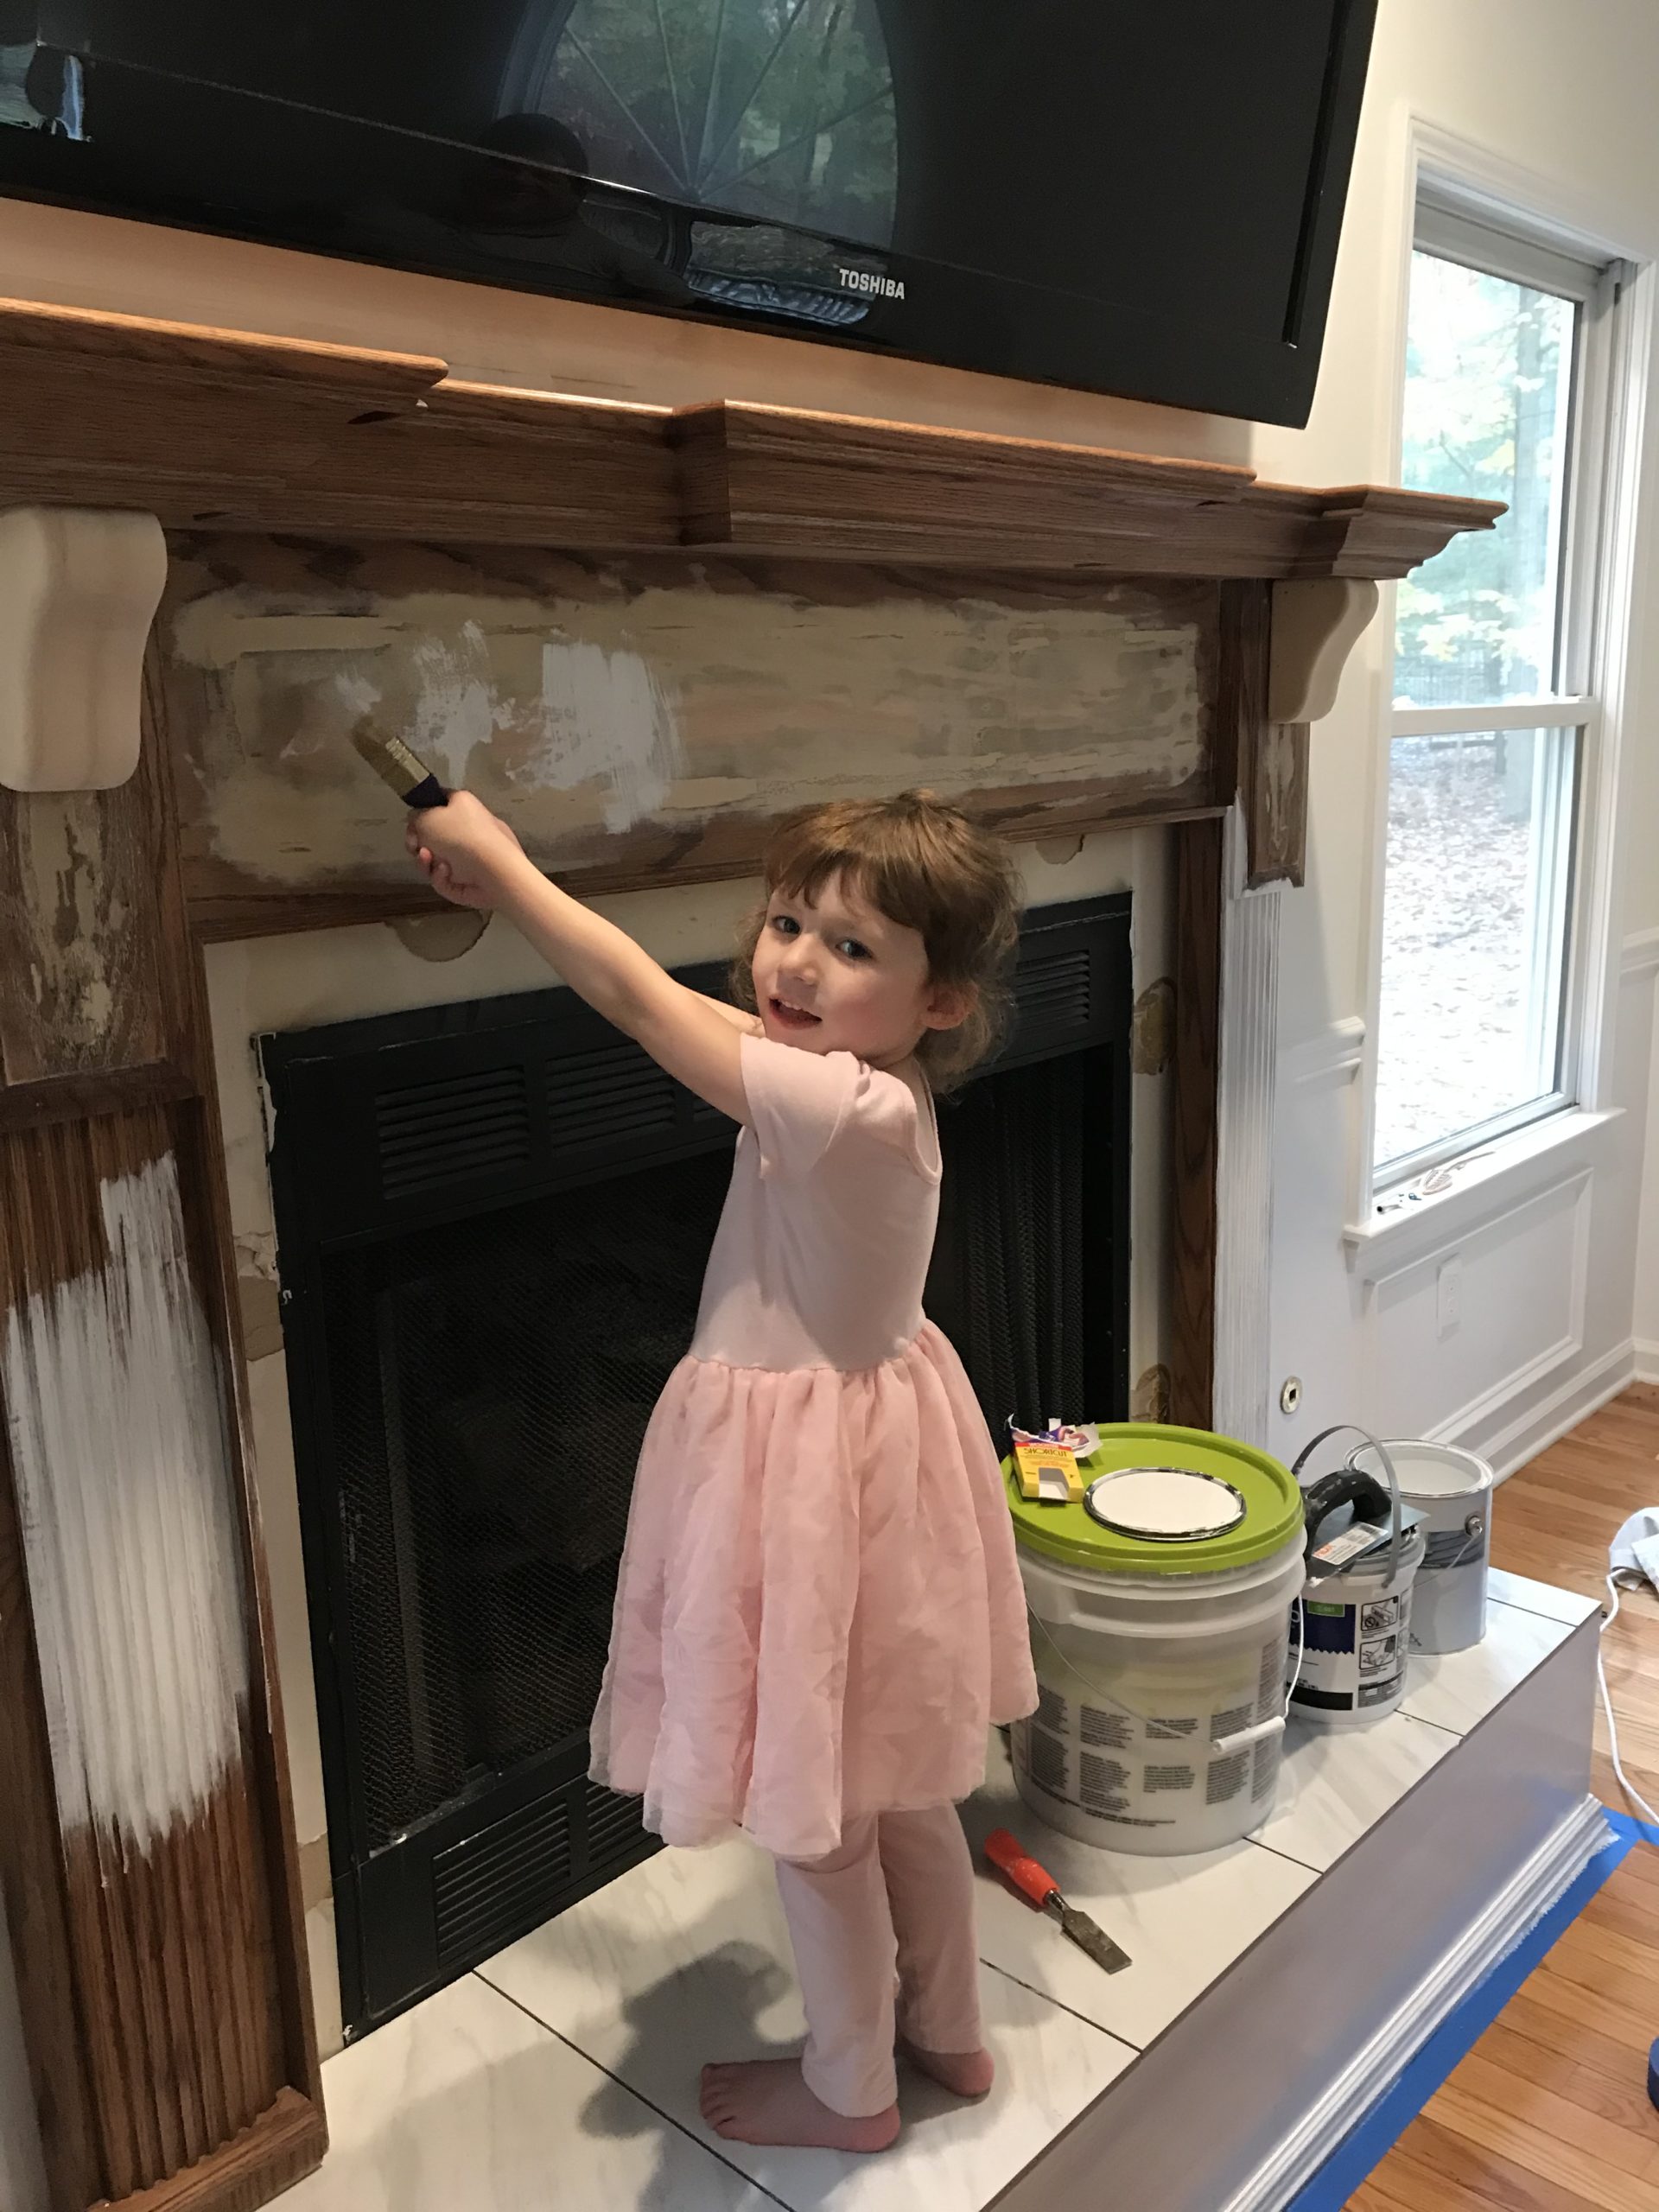
Step 7 – Remounted mantel and primed with paint. 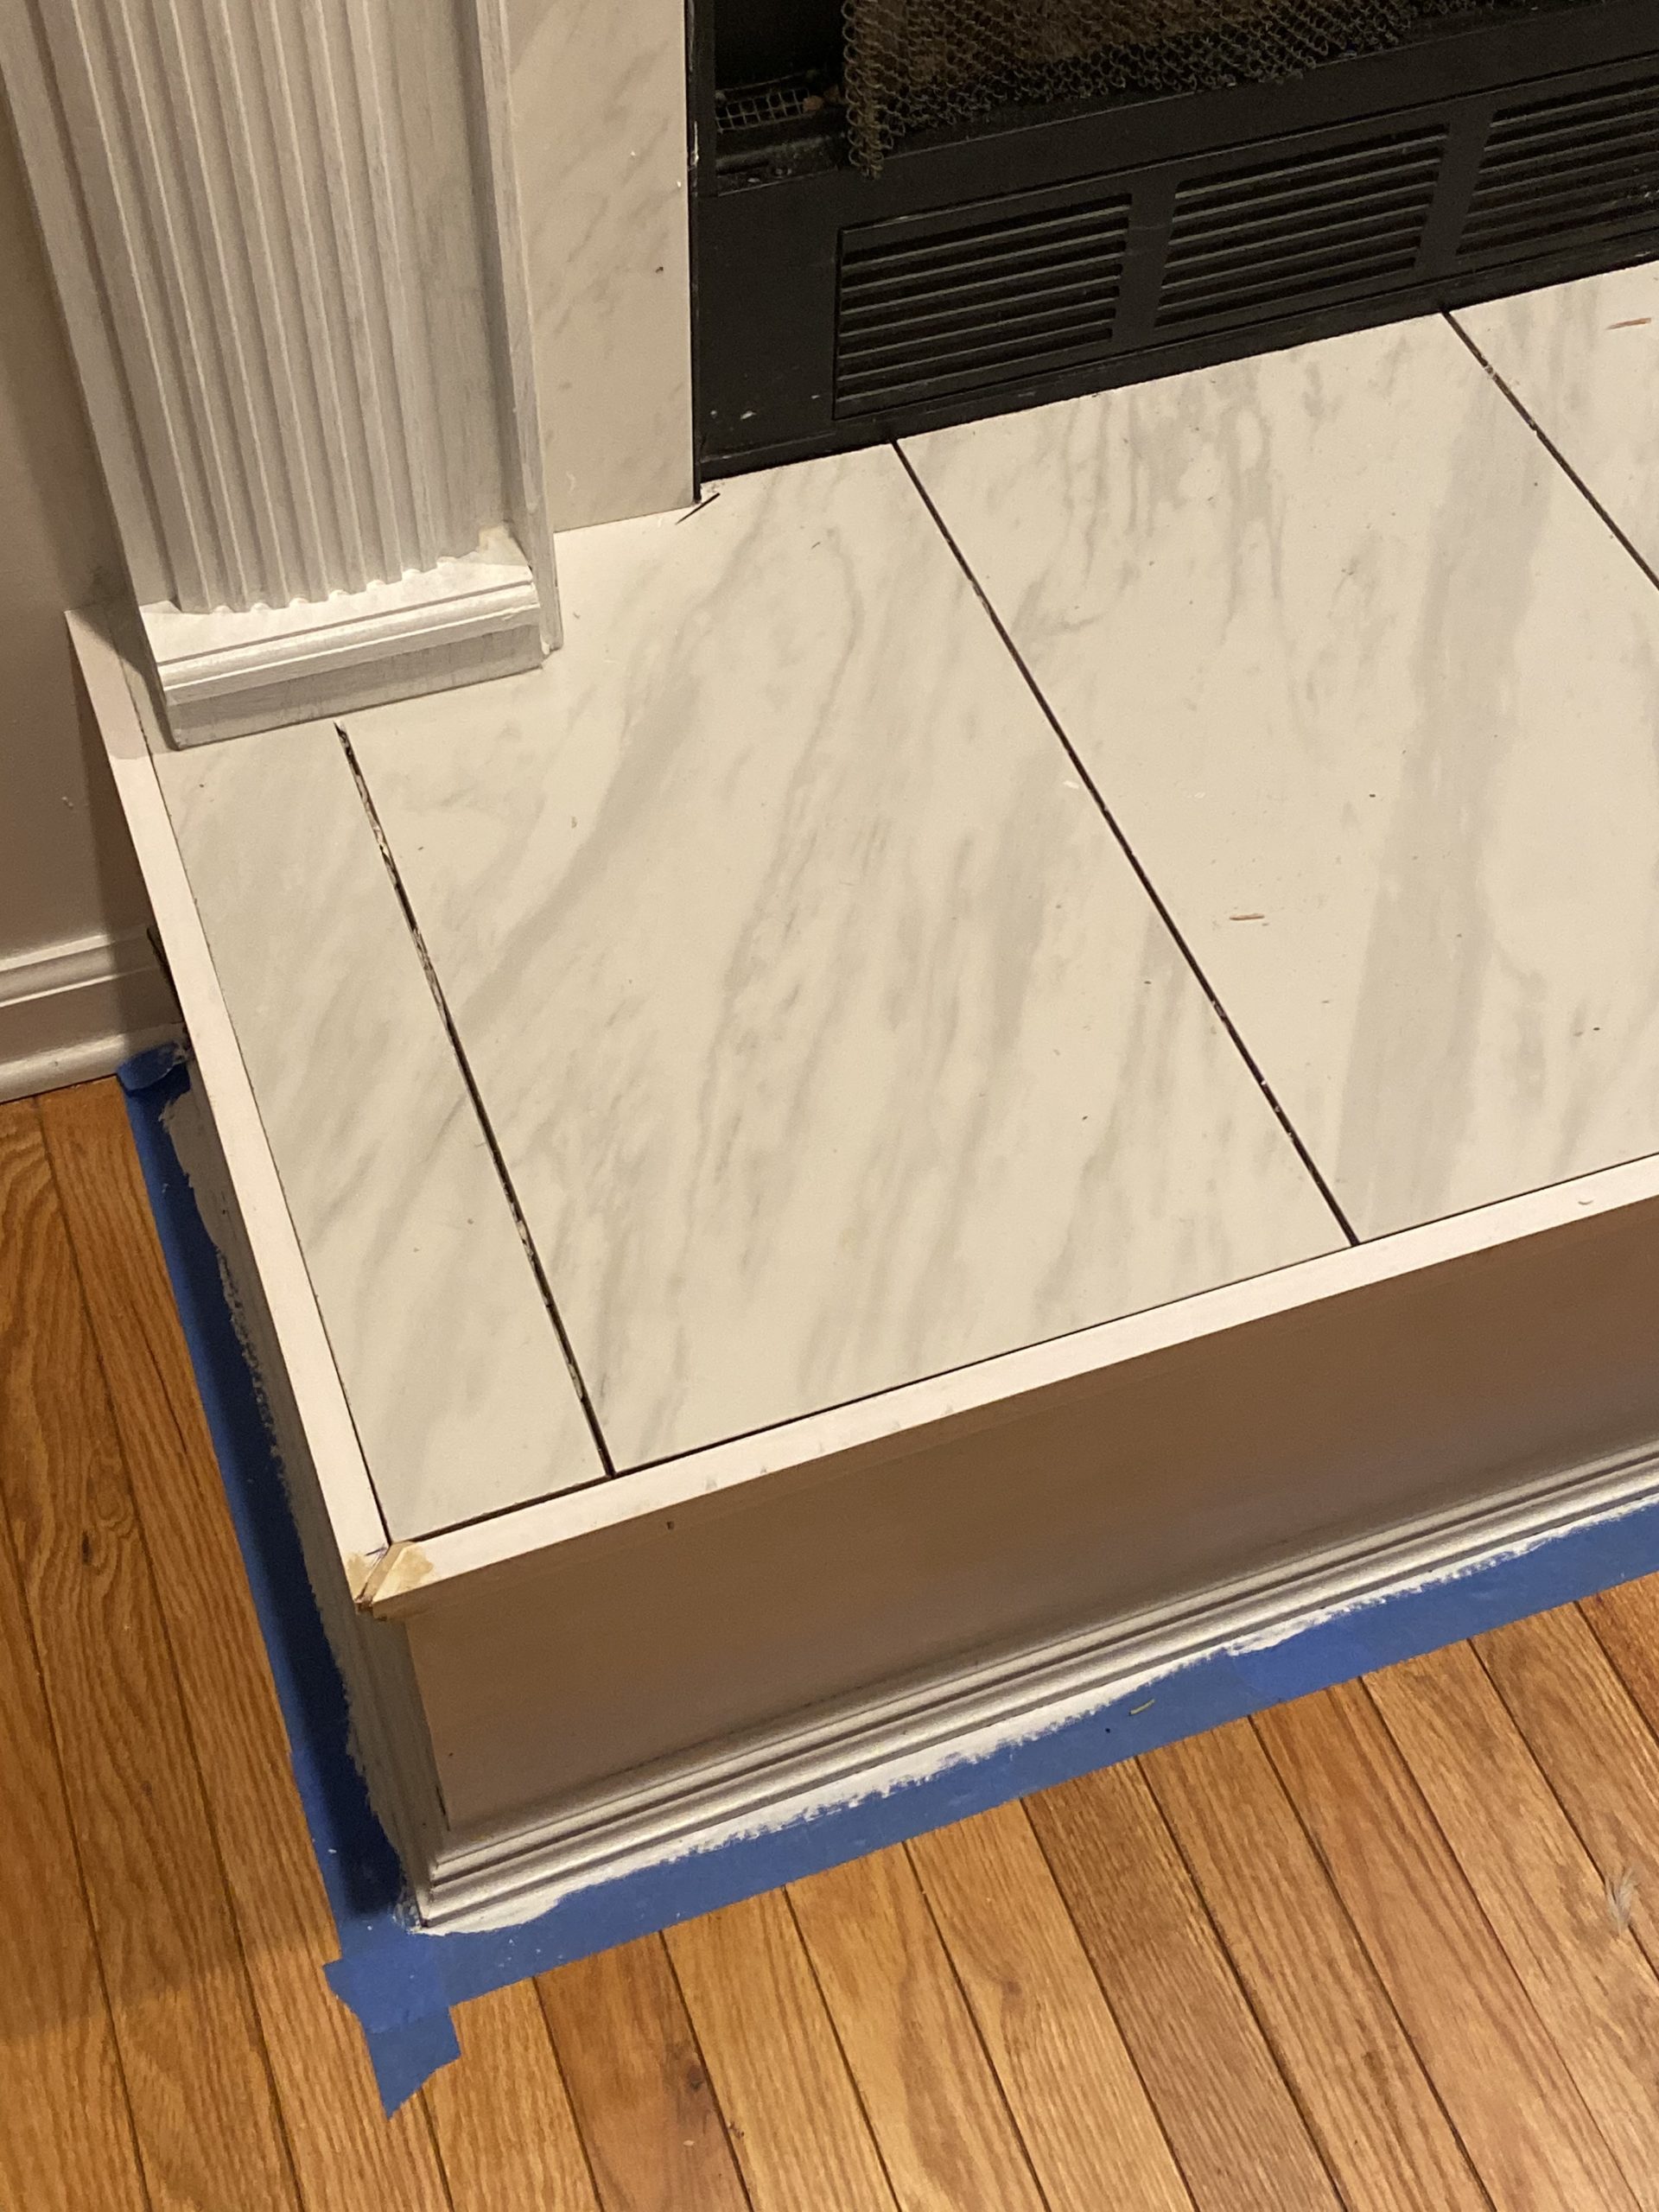
Step 8 – Cut and framed wood trim border around hearth. Used wood filler where the corners met to fill in any spaces. 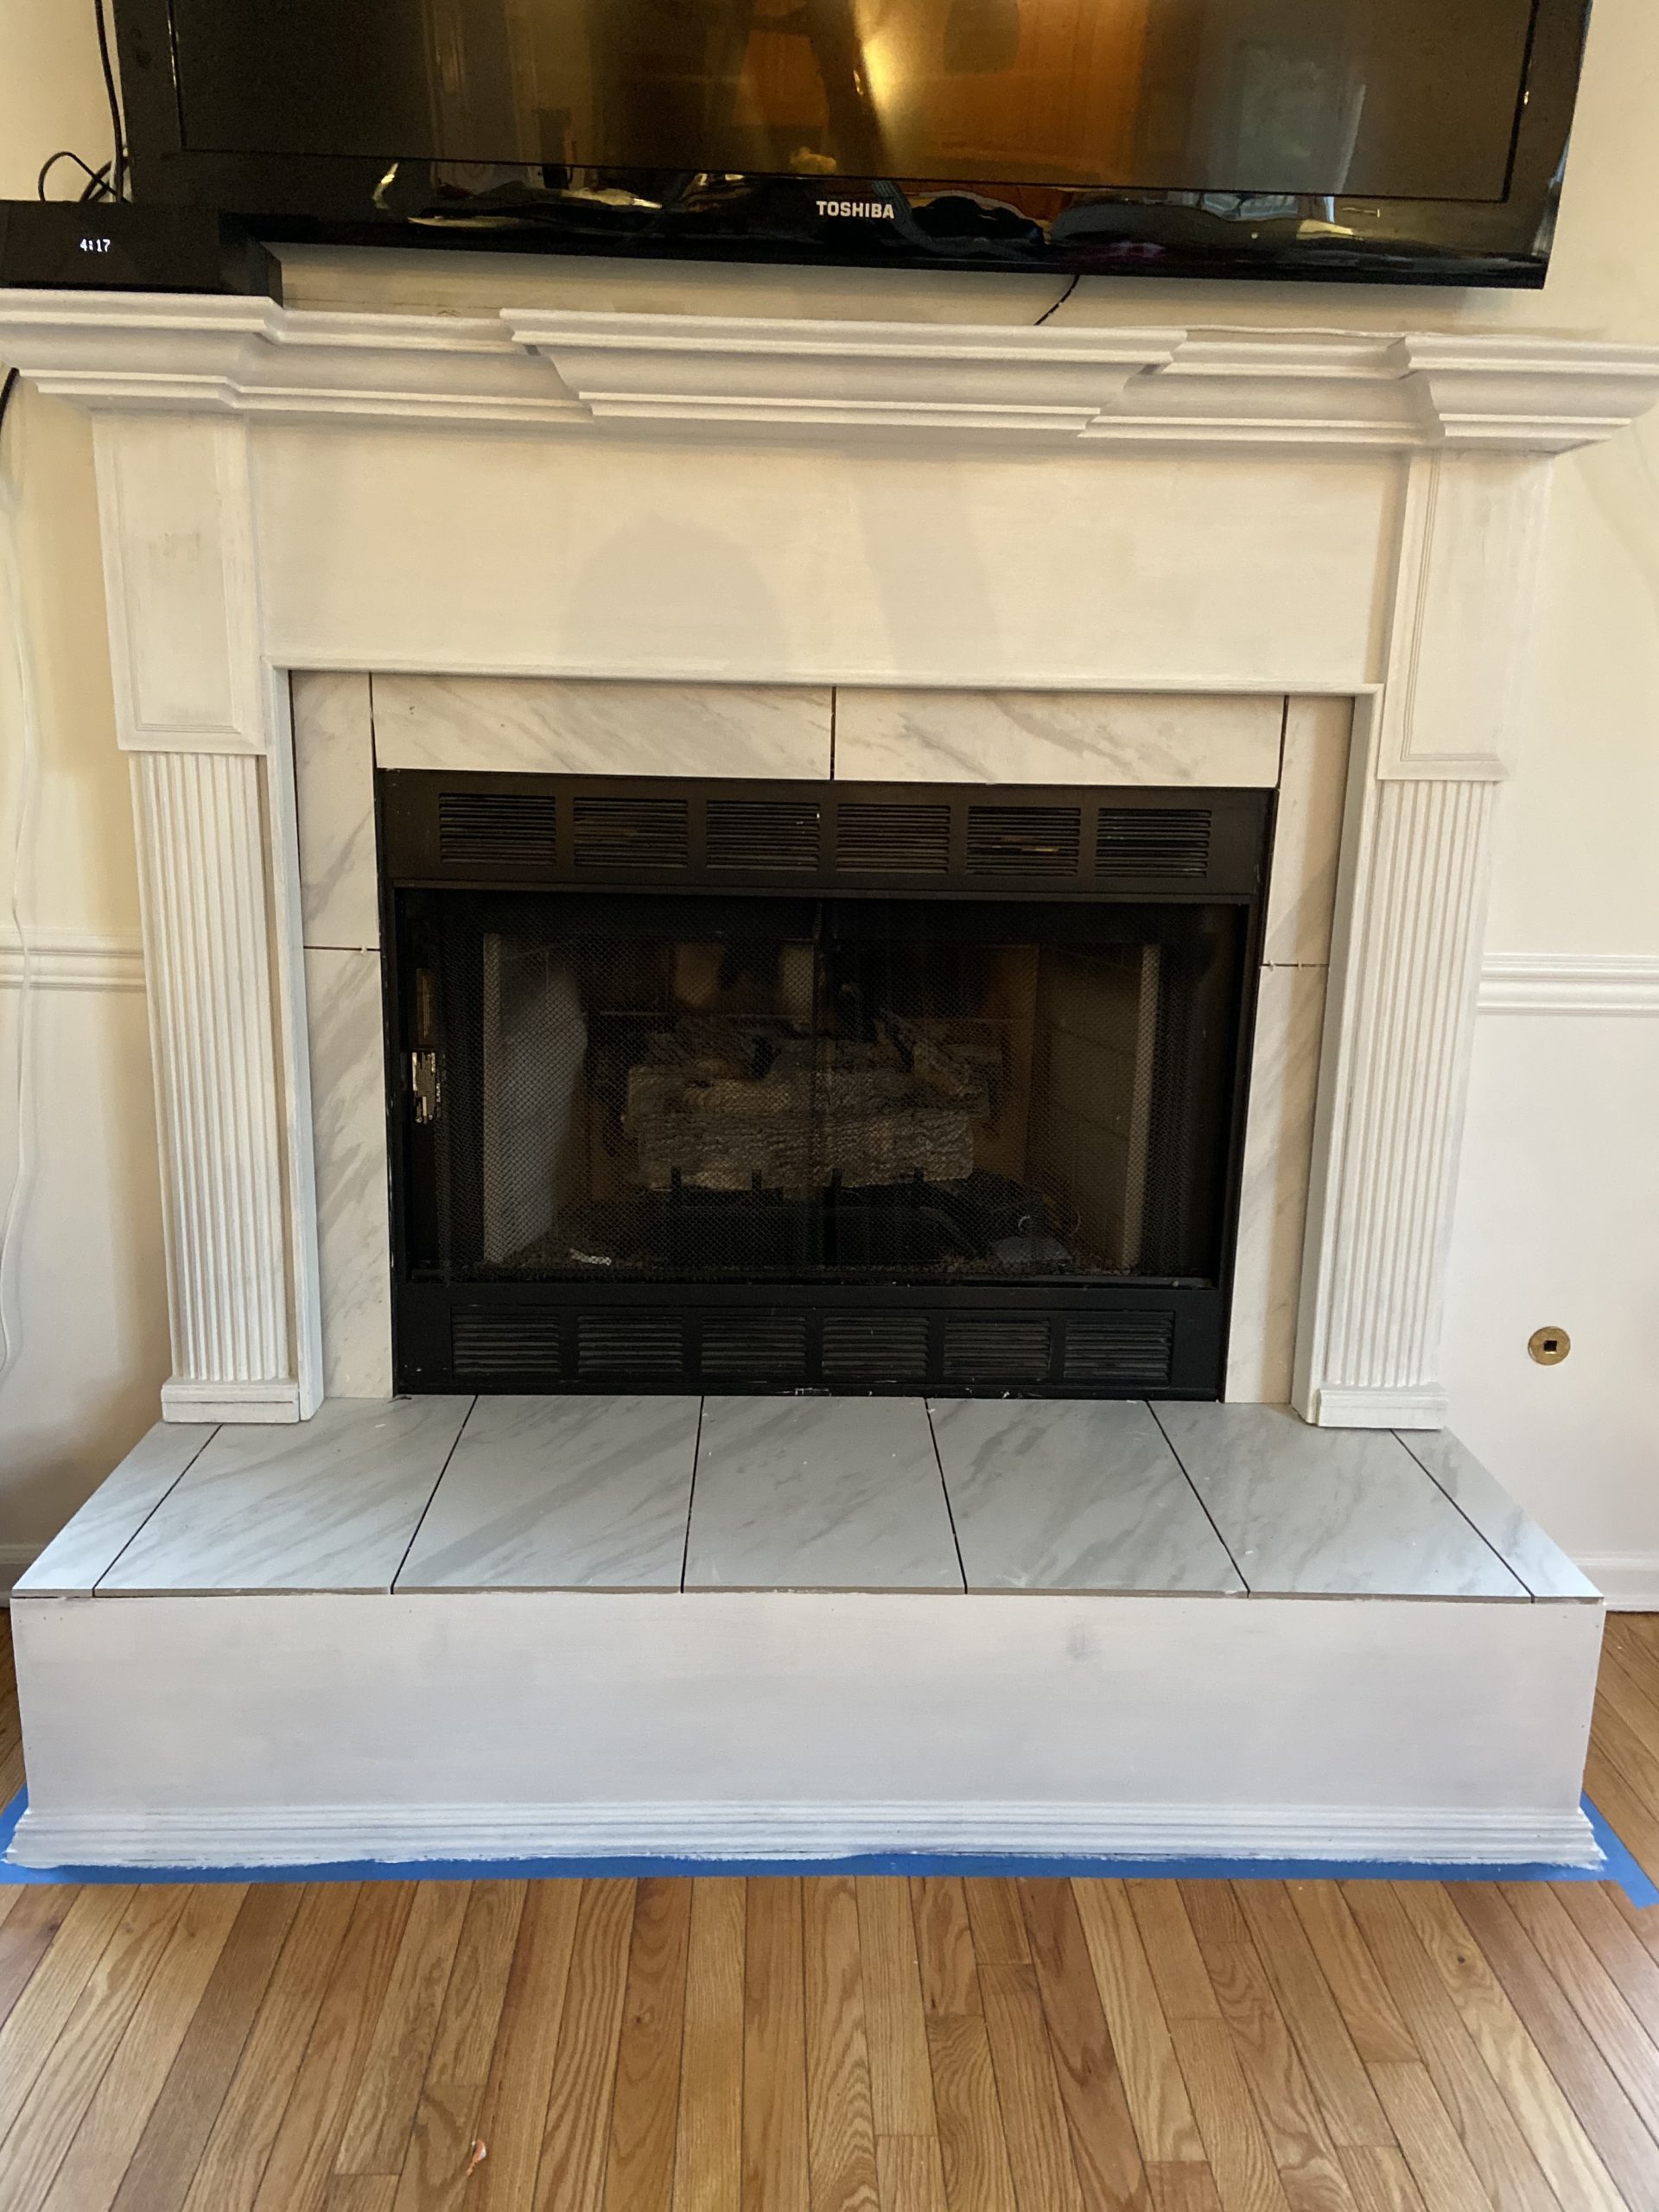
Step 9 – Painted 3 coats of paint! 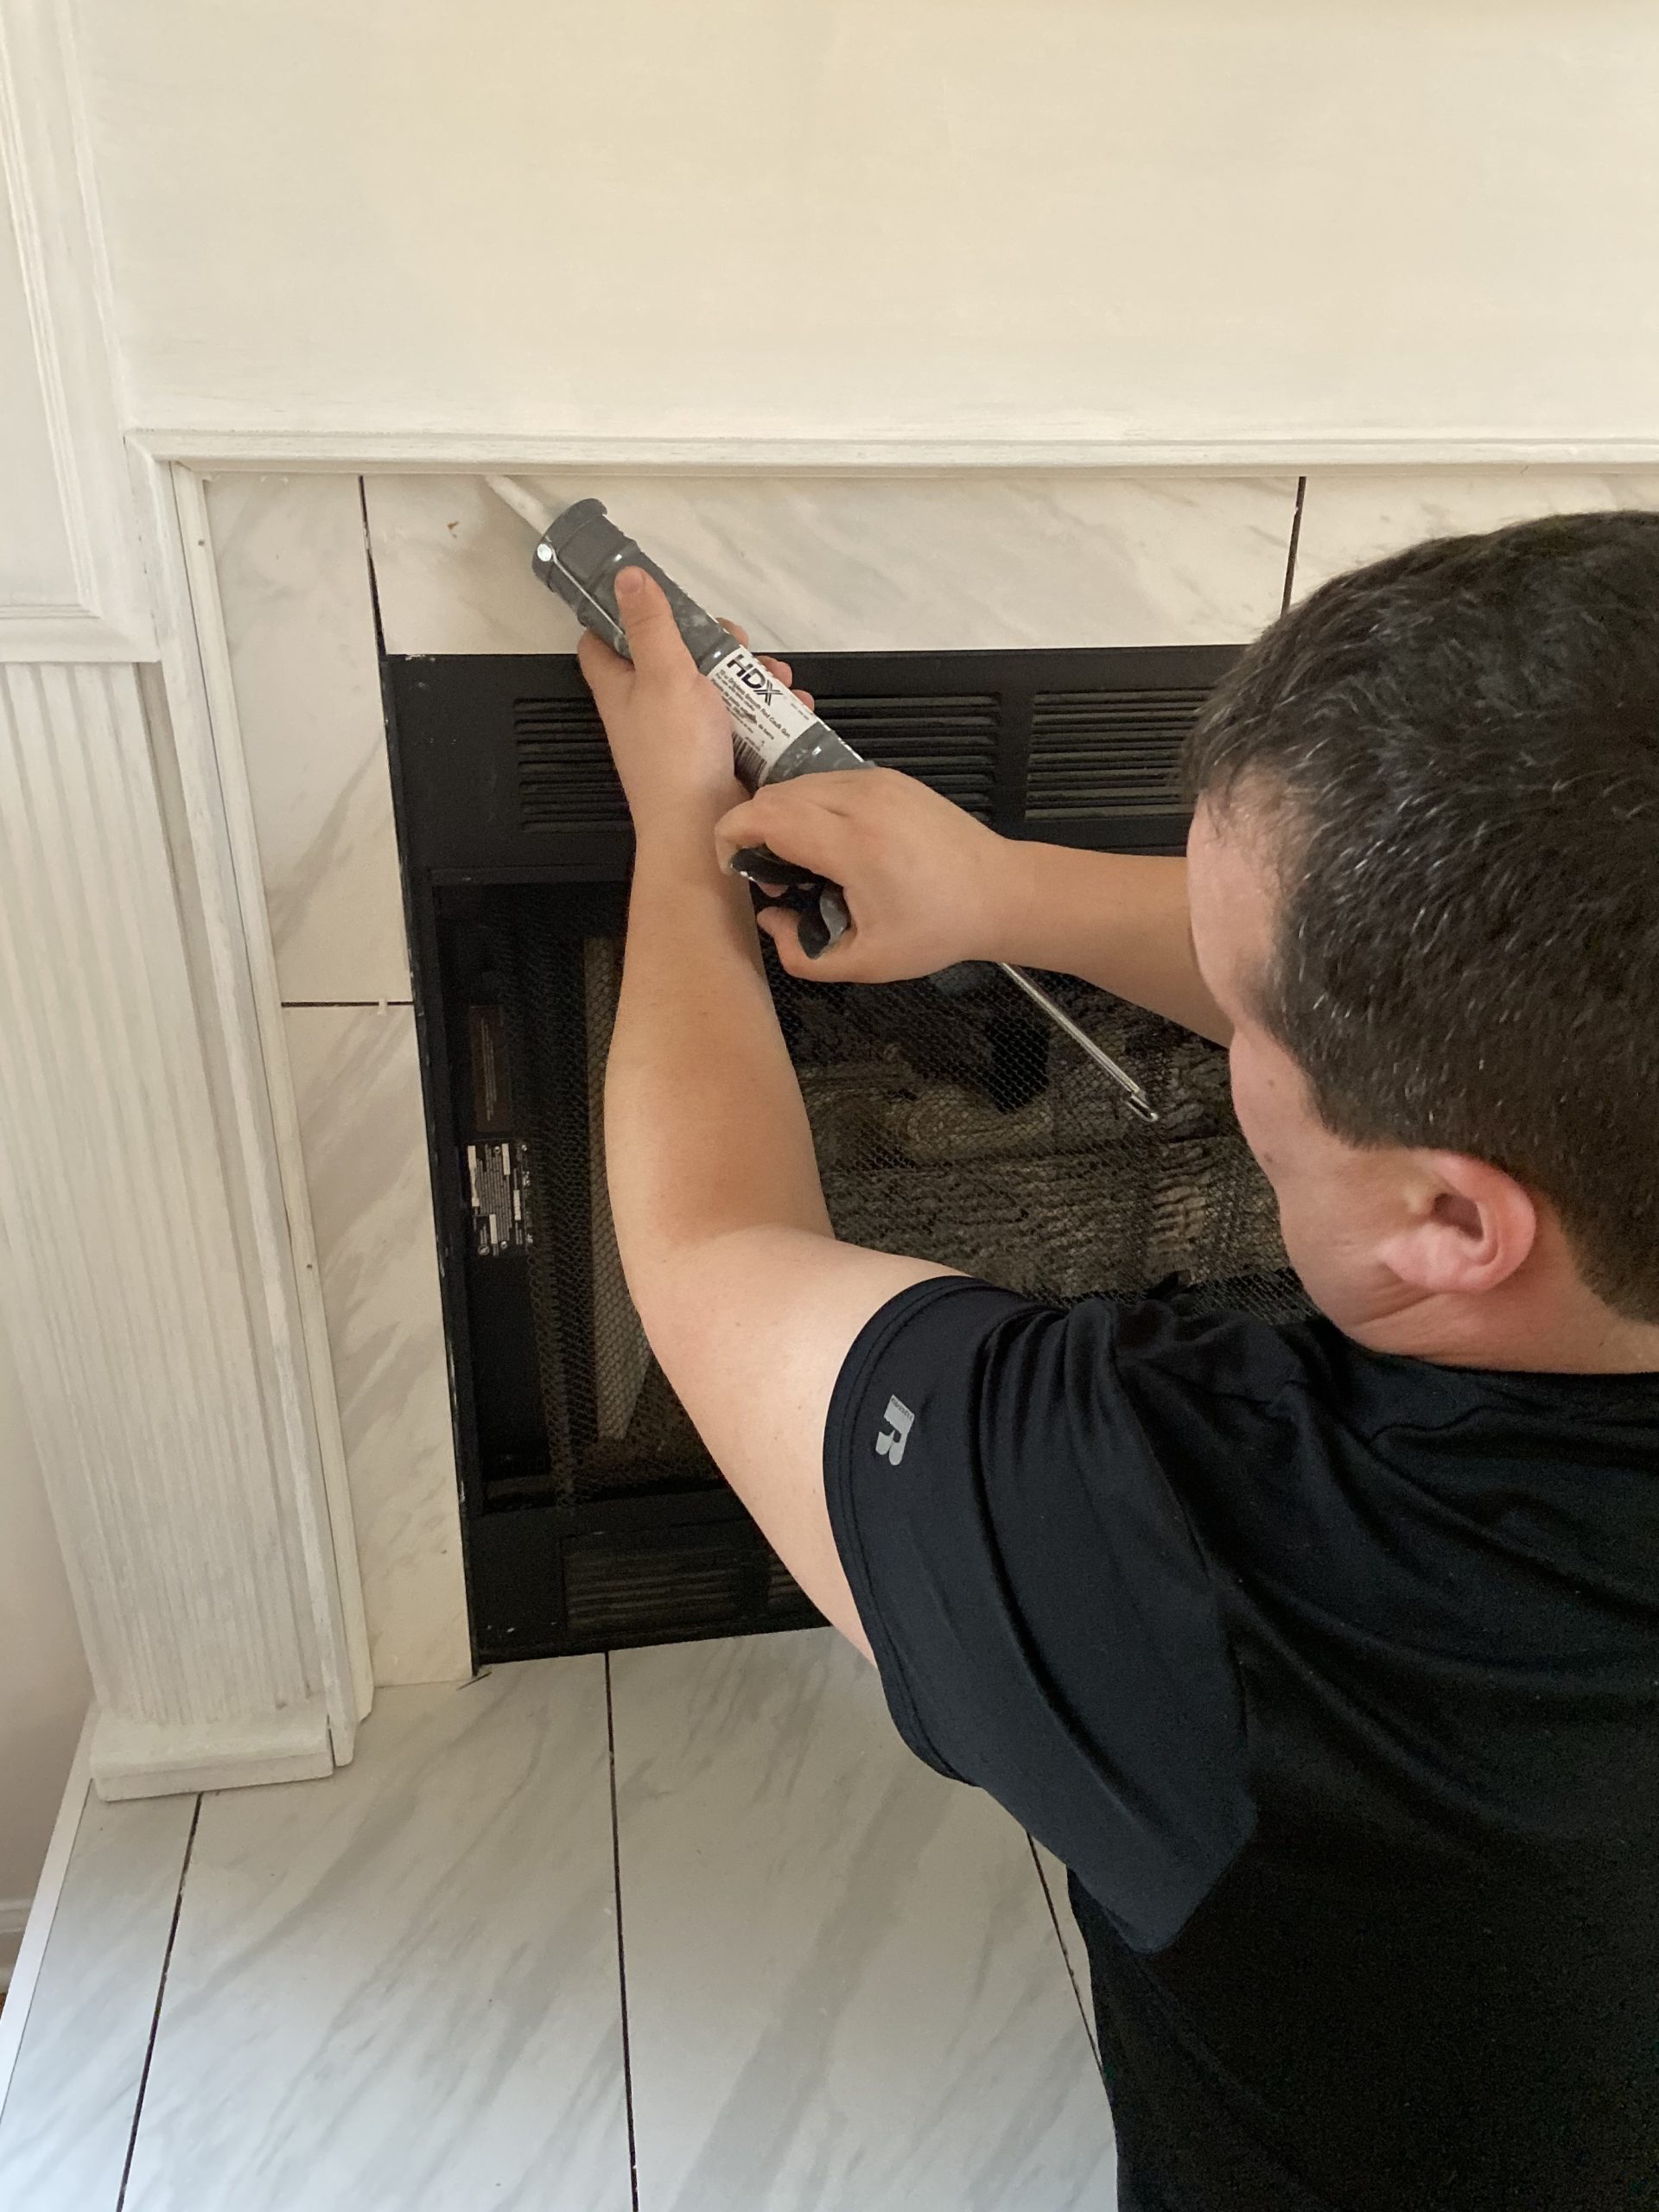
Step 10 – Caulked around outside perimeter where wood met wall and inside panels where wood met tile. 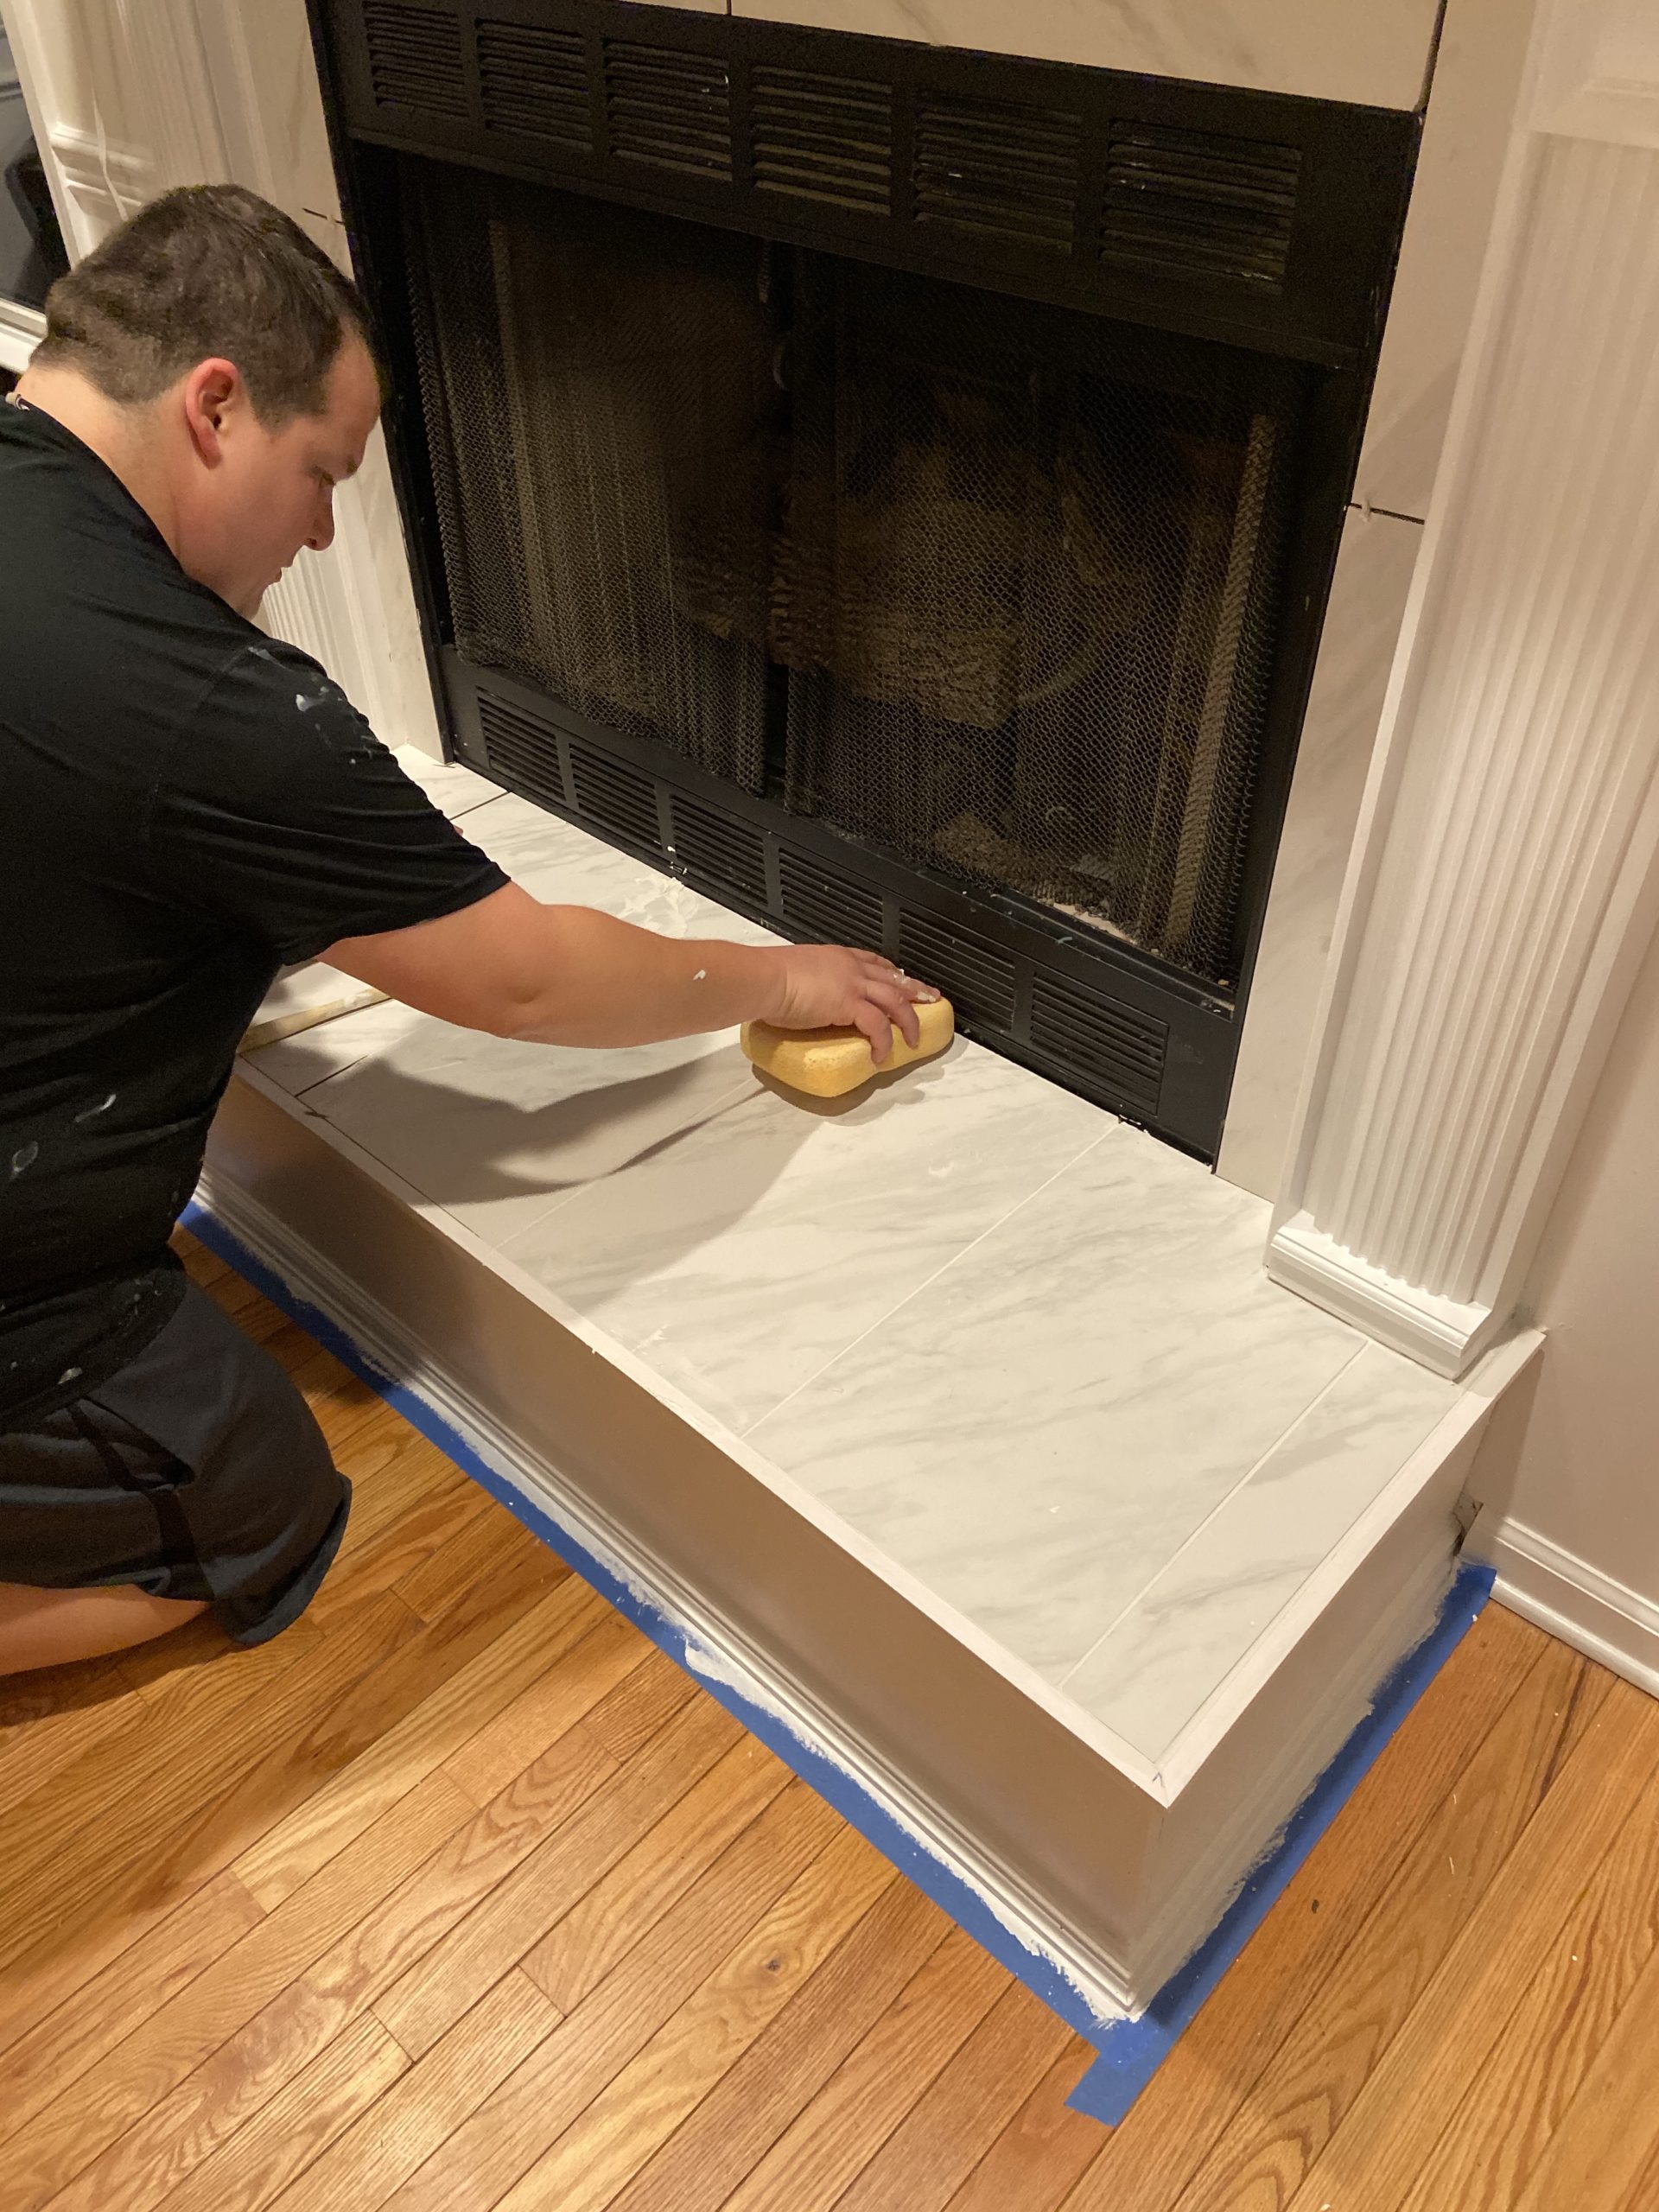
11. Mixed grout and filled in-between tiles.
Step-by-step details:
- Carefully removed the mantel from the wall, and then removed the ornate pieces attached to the header.
- Cut several inches off the legs to have it sit lower on the wall. (Originally, our 72 inch television would not fit above the fireplace, which isn’t my ideal place for it, but the way the room is laid out [french doors and large window on other walls] that was our only option.
- Sanded mantel to smooth everything out.
- Removed green tile.
- Cut and screwed down cement board where new tile would lay.
- Cut and laid new tile (over cement) with spacers for grout. (We used blue painters tape to keep the upper tiles in place while the cement dried.)
- Remounted mantel and primed with paint.
- Cut and framed wood trim border around hearth. Used wood filler where the corners met to fill in any spaces.
- Painted 3 coats of paint!
- Caulked around the outside perimeter where wood met wall and inside panels and wood met tile.
- Mixed grout and filled in-between tiles.
- Light up fire and get cozy!

I hope you enjoyed our fireplace transformation as much as we did! I’m so looking forward to decorating the mantel for Christmas and getting cozy by the fire this winter!
Comment below with any questions you may have, and we will answer them for you!
XO,
Kate